Introduction to Rear View Cameras
Rear view cameras have become a critical safety feature in modern vehicles. Often known as backup cameras, they provide a clear view of the area behind your car that is not visible using mirrors alone. This visual aid can significantly reduce blind spots. It makes reversing and parking more comfortable and less risky.
Many new vehicles come with pre-installed rear view cameras. However, if your vehicle doesn’t have one, you might consider an aftermarket installation. Installing a rear view camera not only boosts your vehicle’s safety features but can also increase its resale value.
By helping you see obstacles, children, or pets that could be hiding out of sight, rear view cameras can prevent tragic accidents. They also assist when you hitch trailers or boats, ensuring you align perfectly without the help of another person.
For those who are not tech-savvy, the thought of ‘install rear view camera’ might seem daunting. But with the right tools and some patience, most car owners can tackle this project. This guide will walk you through the process step-by-step.
In the following sections, we will discuss what you need for installation, how to choose the right camera, and detailed instructions on how to install a rear view camera in your vehicle. So let’s get started on making your driving experience safer and more convenient.
Tools and Materials Needed for Installation
Before you start to install rear view camera, it is essential to gather all the necessary tools and materials. You will need a few basic items to ensure a smooth and successful installation. Here is a list of what you should have on hand:
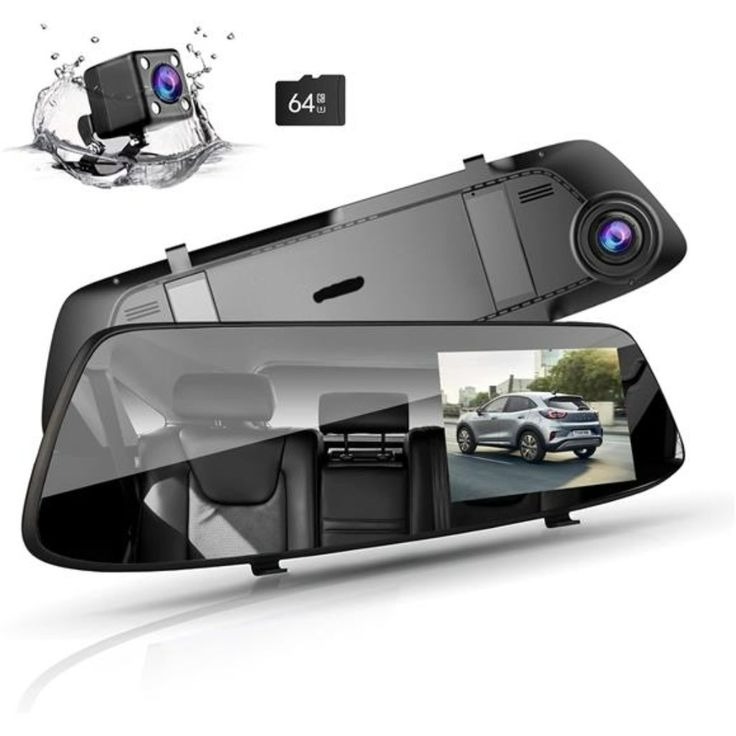
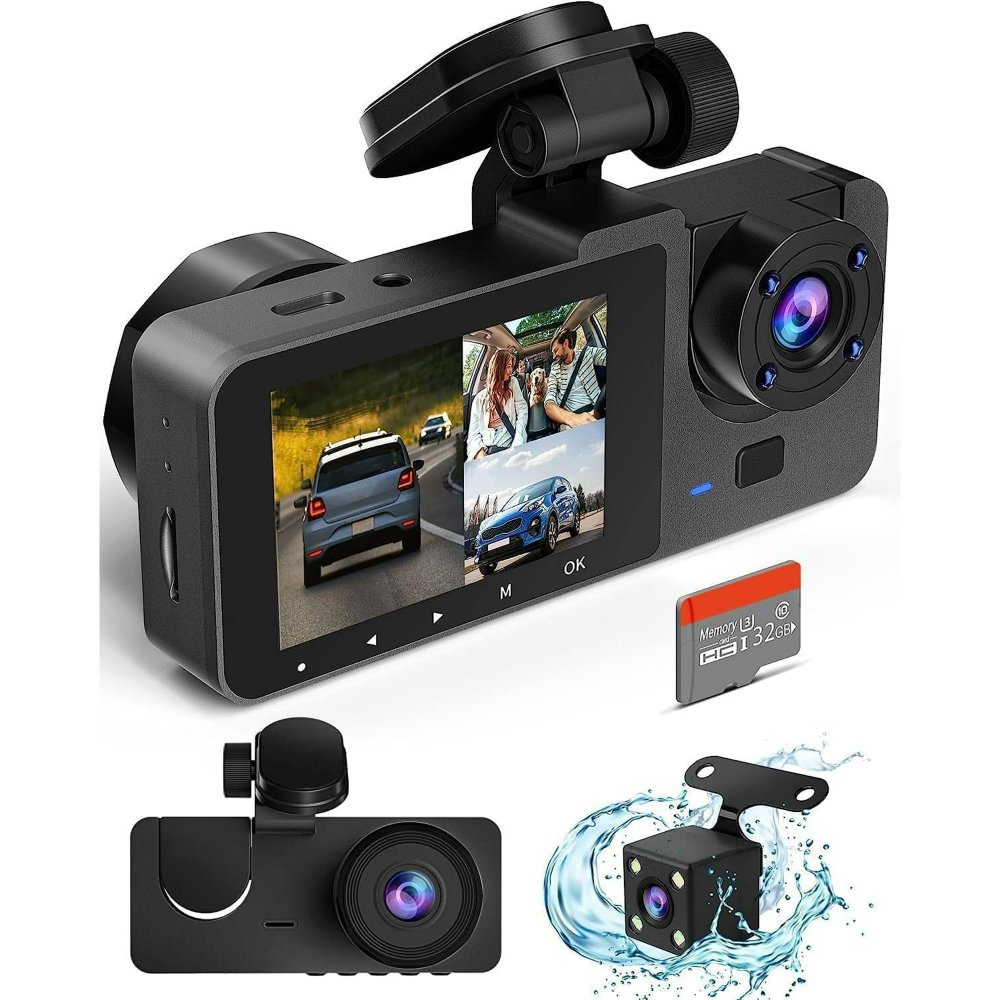
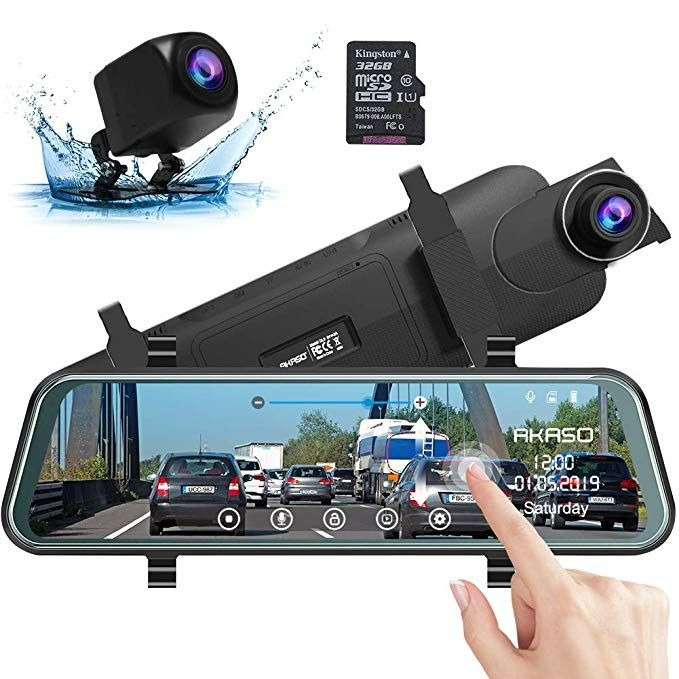
- Rear View Camera Kit: This includes the camera itself and usually comes with wiring and connectors.
- Power Drill: Needed for making holes for mounting the camera and running wires.
- Drill Bits: Various sizes to suit the requirements of the camera mounting points.
- Screwdriver Set: For tightening screws and adjusting components.
- Wire Strippers and Crimpers: To handle the camera’s wiring connections.
- Electrical Tape and Heat Shrink Tubing: For insulating and protecting wire connections.
- Cable Ties: To secure the wires along the vehicle’s body to avoid dangling or loose cables.
- Voltmeter or Test Light: To ensure the power connection is working correctly.
- Fuse Tap or Add-A-Circuit Fuse Adapter: To connect the camera’s power to the vehicle’s fuse box safely.
Take the time to familiarize yourself with each tool and material. This will help prevent any delays or mistakes during the installation process. Remember to keep all tools and materials within reach, so you can access them easily as you install your rear view camera.
Choosing the Right Rear View Camera for Your Vehicle
Before you start to install rear view camera, picking the right one for your vehicle is vital. The market offers various cameras with different features. Here’s how to choose the best fit for your needs:
- Camera Quality: Look for cameras with high resolution for clearer images. Night vision is also important for low-light conditions.
- Field of View: A wider angle gives a better view of what’s behind you. Aim for at least 120 degrees.
- Wired or Wireless: Wired cameras tend to have a more reliable signal, while wireless ones are easier to install.
- Parking Guidelines: Some cameras have on-screen guidelines to help with parking. Decide if this feature is helpful for you.
- Durability: Your camera should resist weather and road conditions. Check for water and shock resistance.
- Compatibility: Make sure the camera fits your vehicle model and works well with the display monitor you plan to use.
- Brand and Reviews: Research brands and read customer reviews to assess the camera’s reliability and performance.
- Budget: Set a budget but be willing to invest in a camera that offers better safety and quality.
Once you decide on the right rear view camera, you’ll be one step closer to enhancing your vehicle’s safety. Next, we’ll look at planning the installation to ensure a smooth process.
Step 1: Planning the Installation
The first step to install rear view camera is planning. Proper planning can save you time and prevent errors. Here’s what you should do:
- Study Your Vehicle: Learn where the best spots are to mount the camera and run wires. Consider the layout of your car’s interior and exterior for this task.
- Check the Camera Kit: Review your rear view camera kit. Make sure all parts are present and understand how they connect.
- Determine Wire Route: Decide where you will run the camera wires. Aim to keep them hidden for a clean look and protect them from damage.
- Gather Tools: Assemble all the tools listed earlier. Organize them to get to them easily during the installation.
- Camera Position: Mark the spot where you’ll mount the camera. Ensure the chosen area allows a clear view of what’s behind your vehicle.
- Monitor Connections: If your car doesn’t have a built-in screen, decide where to place the display monitor. It should be easily visible when reversing.
- Check Connections: Find the reverse light wiring. This is where you will tap the camera’s power supply.
- Set Aside Time: Block off enough time to complete the installation without rush. This keeps the process stress-free.
With your plan in place, you’ll be set for a smoother installation. Next, we’ll move on to Step 2: Mounting the Camera.
Step 2: Mounting the Camera
Mounting the camera is a crucial step when you install a rear view camera. To get started, follow these simple instructions:
- Choose the Mounting Spot: First, find a suitable location at the rear of your vehicle. The spot should offer a broad, unobstructed view. Common places include above the license plate or on the rear bumper.
- Clean the Area: Wipe down the area where you’ll mount the camera with a cloth. This ensures a secure attachment.
- Mark Drill Points: Using the camera’s mounting bracket as a guide, mark the drill points on your vehicle. Double-check the positioning to avoid errors.
- Drill Holes: Carefully drill holes at the marked points. Start with a small drill bit and gradually increase the size as needed.
- Install the Mounting Bracket: Secure the bracket into place by inserting screws into the drilled holes. Tighten them to hold the camera firmly.
- Attach the Camera: Once the bracket is secure, attach the camera to the bracket. Adjust the camera angle to ensure it covers the desired area.
- Test the Position: Have someone assist you in checking the camera’s view. Once it’s in the right position, tighten all the necessary screws.
Be patient and precise during this step to ensure your camera is mounted securely and positioned correctly. This will significantly improve your rear view camera’s effectiveness and reliability while you reverse or park your vehicle.
Step 3: Running the Wires
Once your camera is mounted securely, it is time to run the wiring. This step is vital for the transmission of the video feed from your rear view camera to the display monitor inside your vehicle. Here’s how to do it properly:
- Plan the Route: Decide on the path your wires will take from the camera to the monitor. The best routes are usually inside the vehicle’s trim or under the carpet. This keeps the wires hidden and protected.
- Remove Trim Panels: Carefully remove any interior trim panels or seals. This gives you access to hide the wires.
- Run the Cables: Take the video cable from your rear view camera kit. Run it through the planned route. Start from the camera end and move towards the monitor location.
- Secure the Wires: Use cable ties to secure the wire along the route. Ensure the wire is not too tight or stretched.
- Reattach Trim: Once the wires are in place, reattach the trim panels. Make sure there are no wires pinched or visible.
- Ensure Safety: Keep wires away from moving parts. Avoid areas that can get hot or are wet.
- Connect to the Monitor: Run the other end of the video cable to the monitor’s location. Leave enough slack for connections.
After running the wires, it’s crucial to ensure they are secure and won’t get damaged over time. Next, you’ll connect the camera to a power source, so it activates when your vehicle is in reverse.
Step 4: Connecting the Camera to the Power Source
After you install the rear view camera and run the wires, the next step is connecting it to a power source. This ensures that the camera operates only when you shift into reverse. Here is a step-by-step guide to do this properly:
- Locate the Reverse Light Wire: Find the wire that provides power to your vehicle’s reverse lights. This is often found near the lights at the back of the car.
- Ensure Safety: Disconnect your vehicle’s battery before working with the electrical system to prevent short circuits or shocks.
- Strip the Wires: Use your wire strippers to remove a small section of insulation from the reverse light wire.
- Connect Camera Power Wire: Take the power wire from your rear view camera kit and securely connect it to the reverse light wire. Use crimpers for a solid connection.
- Test the Connection: After connecting the wires, re-connect your vehicle’s battery. Turn on your car and shift into reverse. Your rear view camera should activate.
- Secure and Insulate: Once you’ve verified that the camera works, insulate the connection with electrical tape and protect it with heat shrink tubing. This helps prevent electrical shorts and corrosion.
- Tidy Up: Use cable ties to secure the connected wires and keep them away from any heat sources or moving parts.
By following these steps, your rear view camera will be powered correctly and will automatically turn on when the car is put into reverse. It’s crucial to make sure all connections are safe and secure for the system to work reliably.
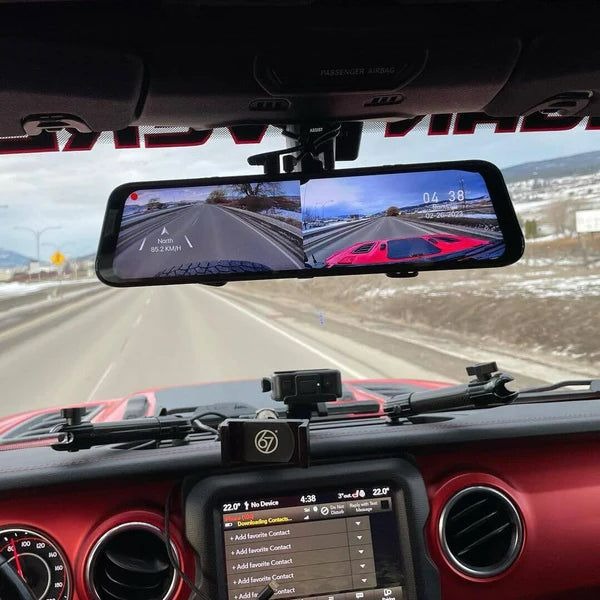
Step 5: Integrating the Camera with the Display Monitor
After mounting the camera and connecting it to power, it’s time to integrate it with your display monitor. This step makes sure you can see what the camera sees. Here’s how to do it:
- Position the Monitor: Find a spot on your dashboard for the monitor. It should be easy to see from the driver’s seat without blocking your view.
- Secure the Monitor: Use the mount provided to secure the monitor to your dashboard. Make sure it’s stable and won’t move while driving.
- Connect to the Video Cable: Plug the video cable into the monitor. This cable comes from the rear view camera. If it’s too short, you might need an extension.
- Power on the Monitor: Connect the monitor’s power cable to your vehicle’s electrical system. You can link it to the fuse box or directly to the battery. Use the voltmeter to check the connections.
- Test the System: Turn on your engine and shift into reverse. Your rear view camera’s feed should display on the monitor. Adjust the camera or monitor if needed.
- Tidy Up: Organize any loose cables with cable ties. Hide them for a cleaner look and to reduce distractions.
Once the camera and monitor work in sync, you’ve successfully installed your rear view camera. You can now reverse and park with added confidence and security.
Troubleshooting Common Installation Issues
Even when you follow instructions to install rear view camera, you might encounter issues. Here are common problems and solutions:
- Camera Doesn’t Power On: Check connections to the reverse light wire. Ensure the battery is connected properly.
- Poor Image Quality: Verify camera resolution and lens cleanliness. Adjust the angle if necessary for a better view.
- Intermittent Signal: Secure all video cable connections. Check for damage along the wire’s path.
- No Signal on Monitor: Ensure the video cable is firmly connected to both camera and monitor. Test with another cable if possible.
- Camera Not Triggered in Reverse: Double-check wire connections to the reverse light. Test the reverse light for power supply issues.
- Foggy or Wet Camera Lens: Wipe the lens with a soft cloth. Consider adding a water-repellent product.
- Wiring Issues in Dashboard: If the video cable is intact, inspect your car’s fuse box for blown fuses.
- Monitor Mount Unstable: Tighten the mount or reposition it. Adhesive pads can also secure loose mounts.
By handling these common issues, you can ensure your rear view camera works reliably and adds to your vehicle’s safety.
Maintenance Tips for Your Rear View Camera
Now that you have your rear view camera installed, it’s crucial to keep it in top shape. Here’s how to maintain it effectively:
- Regular Cleaning: Wipe the camera lens gently with a soft cloth. Remove dirt or debris to prevent blurry images.
- Check for Damage: Inspect the camera for any signs of wear. Look out for cracks or water damage that can affect performance.
- Test Regularly: Make sure your camera activates with reverse gear. This confirms the power connection is consistent.
- Secure Connections: Go over the wire connections periodically. Tighten anything loose to avoid signal loss or power issues.
- Avoid Harsh Chemicals: When cleaning your car, use mild cleaning agents. Harsh chemicals can damage the camera lens.
- Check Alignment: Ensure the camera angle still gives the best view. Adjust if it has shifted from the optimal position.
- Monitor Performance: Watch for changes in image quality. Address issues quickly to maintain safety.
Keeping your rear view camera well maintained ensures it continues to provide a clear view when reversing. This simple care routine can make all the difference in driving safely.