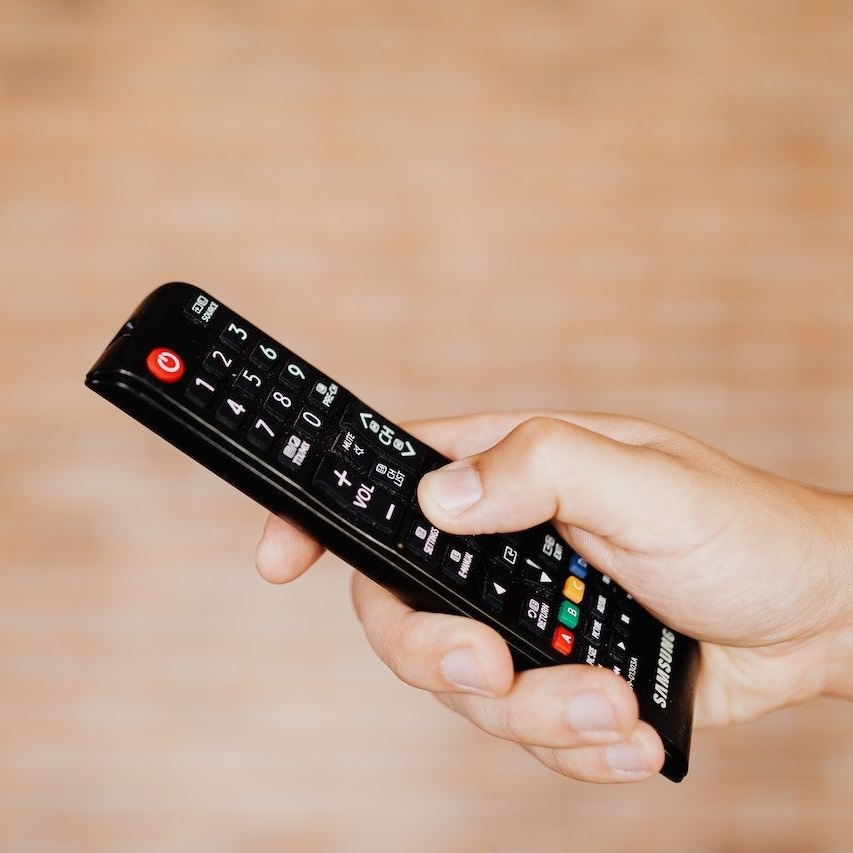
Remote controls are essential gadgets for enjoying various entertainment systems. When they malfunction, it can be frustrating. Knowing how to reset your remote control can solve many common problems. This article will guide you through the steps to reset different types of remote controls.
Understanding Your Remote Control
Before we jump into the reset process, it’s essential to know the components of your remote control. These devices typically consist of buttons, an infrared (IR) emitter, and a battery compartment. The buttons send signals when pressed. The IR emitter transmits these signals to the device, like your TV or DVD player.
Sometimes, remotes stop working for various reasons. Batteries may die, or internal components may miscommunicate. The solution isn’t always to replace the remote. Often, a simple reset can fix the issue.
Common Problems That Require a Reset
Several issues can occur with a remote control. One common problem is unresponsiveness. If your remote doesn’t control the television, it could be due to dead batteries or signals being blocked. Another issue is when buttons become stuck or malfunction. In these cases, a reset might clear the error.
Sometimes, interference from other devices can also cause problems. Nearby electronics might disrupt signals. In such cases, resetting your remote can refresh its connection. Now, let’s explore how to reset different remote controls.
Resetting Your TV Remote Control
The process of resetting your TV remote control can vary based on the brand and model. Here are general steps you can follow to reset most TV remote controls.
Step 1: Check the Batteries
First, always check the batteries. Dead batteries can make your remote appear unresponsive. Remove the battery cover and take out the batteries. Wait for about 10 seconds before reinserting them. This step allows any residual power to discharge, effectively resetting the remote’s electronics.
Ensure you’re using the correct type of batteries. Refer to the remote’s battery compartment for specific details. If the batteries are leaking or corroded, replace them.
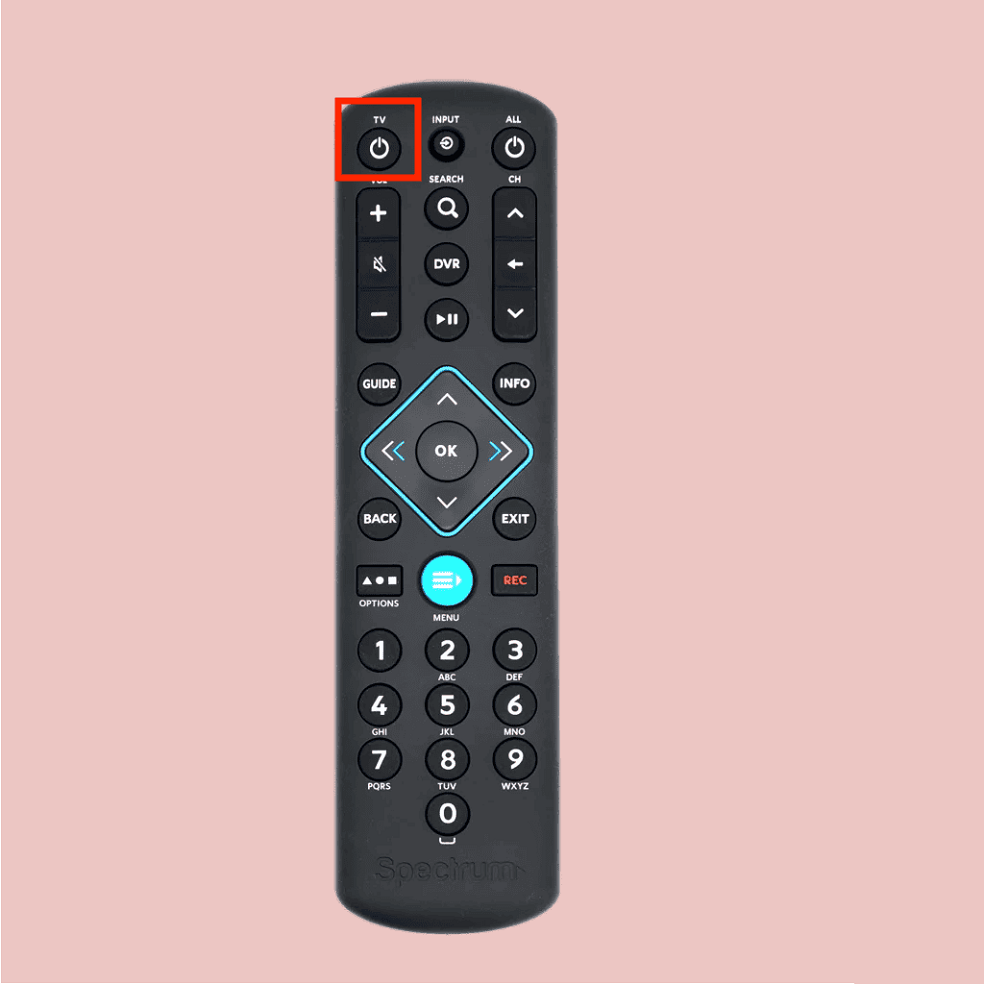
Step 2: Perform a Hard Reset
In many cases, a hard reset can fix most issues. To do this, remove the batteries from the remote. Next, press and hold the power button for about 10 to 20 seconds. This action discharges any remaining power and resets the remote. After the time is up, reinsert the batteries and test the remote functions again.
Step 3: Reprogram the Remote
If resetting the remote doesn’t work, you may need to reprogram it. Different models have different programming methods. Check the user manual or manufacturer’s website for specific instructions regarding your remote.
In many cases, you can program the remote by entering a code for your TV model. Refer to the documentation provided with the remote for the list of codes.
Step 4: Check for Software Updates
Some advanced universal remotes have software that may need updates. These updates enhance overall performance. Check with the manufacturer’s website for any updates related to your remote control.
Conclusion
Resetting a TV remote can be straightforward. By checking the batteries, performing a hard reset, reprogramming, and checking for software updates, you can often restore functionality. If these steps don’t work, consider seeking professional help or purchasing a new remote.
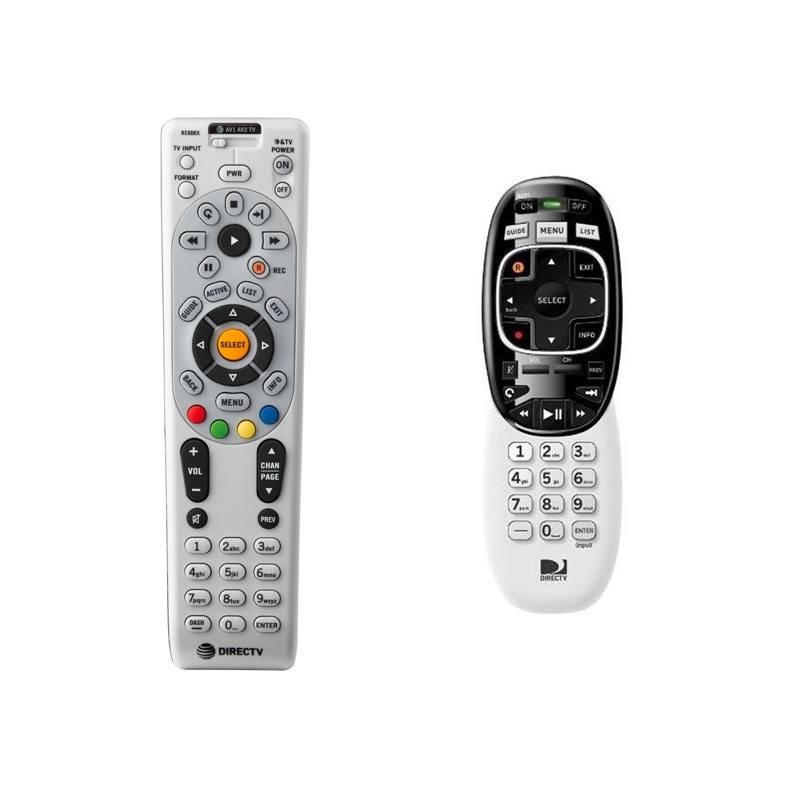
Resetting a Universal Remote
Universal remotes are handy devices that control multiple gadgets. However, they can sometimes become complicated. Resetting a universal remote helps in troubleshooting issues and restoring its functions.
Step 1: Identify the Reset Button
Start by identifying the reset button on your universal remote. Most modern universal remotes will have a reset option available. This button may be labeled “Reset.” If you can’t find it, consult the user manual for guidance.
Step 2: Use the Reset Button
Press and hold the reset button for a few seconds. You’ll usually notice the remote’s light flashing or turning off once the reset is successful. Release the button and check if the remote is functioning correctly now.
Step 3: Clear Existing Settings
If your universal remote still isn’t working, you will want to clear all existing settings. To do this, you may need to follow these steps:
- Remove the batteries from the remote.
- Press each button on the remote at least once. This action helps discharge any remaining power and will effectively reset it.
- Reinsert the batteries and power on your device.
Step 4: Reprogram the Remote
After resetting, you’ll likely need to reprogram your remote. Input the necessary codes for your devices. You can usually find these codes in the user manual. After entering the codes, test the buttons to confirm they control your devices properly.
Conclusion
Resetting a universal remote is crucial for ensuring its effectiveness. Checking the reset button, utilizing it, and clearing existing settings can bring your remote back to life. Reprogramming it afterward ensures that you can manage multiple devices seamlessly.
Resetting a DVD Player Remote
A DVD player remote can face occasional issues, just like any other remote. If your remote is not functioning correctly, a reset might help.
Step 1: Remove the Batteries
Start by removing the batteries from the remote. Wait for about 30 seconds. This pause allows the internal memory to clear and resets the device’s electronic components.
Step 2: Inspect the Remote for Damage
While the batteries are out, inspect the remote for any visible damage. Look for broken or stuck buttons. If you notice any damage, consider replacing the remote.
Step 3: Press All Buttons
After waiting, press all the buttons on the remote. This action helps ensure that there are no stuck buttons. Once done, reinsert the batteries and test the remote.
Step 4: Reprogram, If Needed
Other than conducting a reset, check if the remote needs reprogramming. Most DVD remotes have specific codes for various models. Ensure you have the correct code entered as per the user manual.
Conclusion
Resetting a DVD player remote involves basic checks and maintenance. By removing the batteries, inspecting for damage, pressing all buttons, and reprogramming, you can usually solve issues effectively.
Resetting a Sound System Remote
Sound system remotes often encounter issues like malfunctioning buttons or connectivity problems. Resetting them can solve these issues.
Step 1: Power Cycle the System
Start by turning off the sound system. Unplug it from the mains supply and leave it for a few minutes. This action serves as a power cycle, allowing the system to reset.
Step 2: Remove and Replace Batteries
Next, take out the batteries from the remote control. Again, wait for around 30 seconds before reinserting them. This step can help clear out any existing glitches.
Step 3: Inspect for Interference
Use the remote while the sound system is on and check if there are any barriers or objects blocking the IR signals. If there are, move them away.
Step 4: Test and Reconfigure
After troubleshooting, test the remote. Adjust settings if needed. If your remote isn’t functioning as expected, consider reprogramming it according to the manual’s guidelines.
Conclusion
Resetting a sound system remote is not complicated. By power cycling the system, removing batteries, checking for interference, and reconfiguring if necessary, normal operation can often be restored.
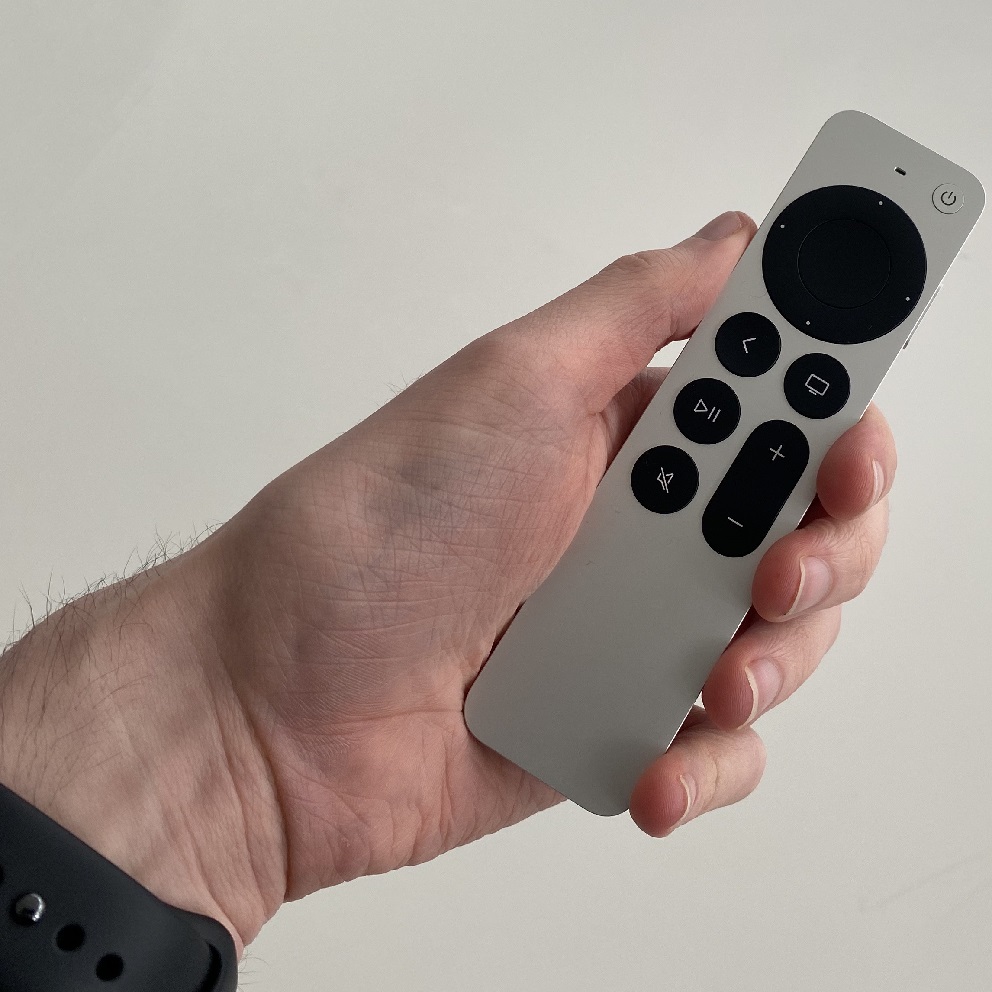
Resetting a Game Console Remote
Game console remotes are designed to provide a seamless gaming experience. However, like any gadget, they occasionally need a reset.
Step 1: Power Down the Console
To reset the remote, start by powering down the console. Unplug it from the mains supply for a few minutes. This method serves as a general reset for both the console and the remote.
Step 2: Remove the Batteries
After the console is off, take out the batteries from the remote. Wait a short time before placing them back.
Step 3: Check for Updates
While the console is unplugged, check if there are any available updates that could enhance functionality. Keeping your devices updated ensures they run smoothly.
Step 4: Re-pair the Remote
Once everything is back online, re-pair the remote with the console. This process can fix connectivity issues. Refer to the user manual for specific pairing steps.
Conclusion
Resetting a game console remote can solve several issues. By powering down, removing batteries, checking for updates, and re-pairing, you might improve the functionality of your remote.
Conclusion: The Importance of Resetting Remotes
Resetting any remote control is straightforward, yet many overlook this option. Often, troubleshooting through simple resets can save you from buying a new device.
Remotes play a vital role in our entertainment experiences. Knowing how to reset them can enhance your enjoyment and minimize frustration. By following the appropriate steps for your remote type, you can restore functionality quickly.
Final Tips for Remote Maintenance
- Store Remotes Properly: Keeping remotes in a designated place can prevent loss and damage.
- Clean Regularly: Dust and debris can gather on buttons. Regular cleaning ensures smooth operation.
- Always Use Quality Batteries: Using good-quality batteries can prolong the life of your remote control.
Armed with these steps and tips, you’re better prepared to handle any remote control issues. Enjoy your entertainment system hassle-free!