Overview of Camper Rear View Cameras
Before we delve into the installation process of a camper rear view camera, let’s understand what it is and its function. A camper rear view camera is a specialized camera system. It connects to the back of your camper. This camera provides a clear view of what’s behind you on a display monitor. It acts like an extra eye while you drive or reverse your vehicle.
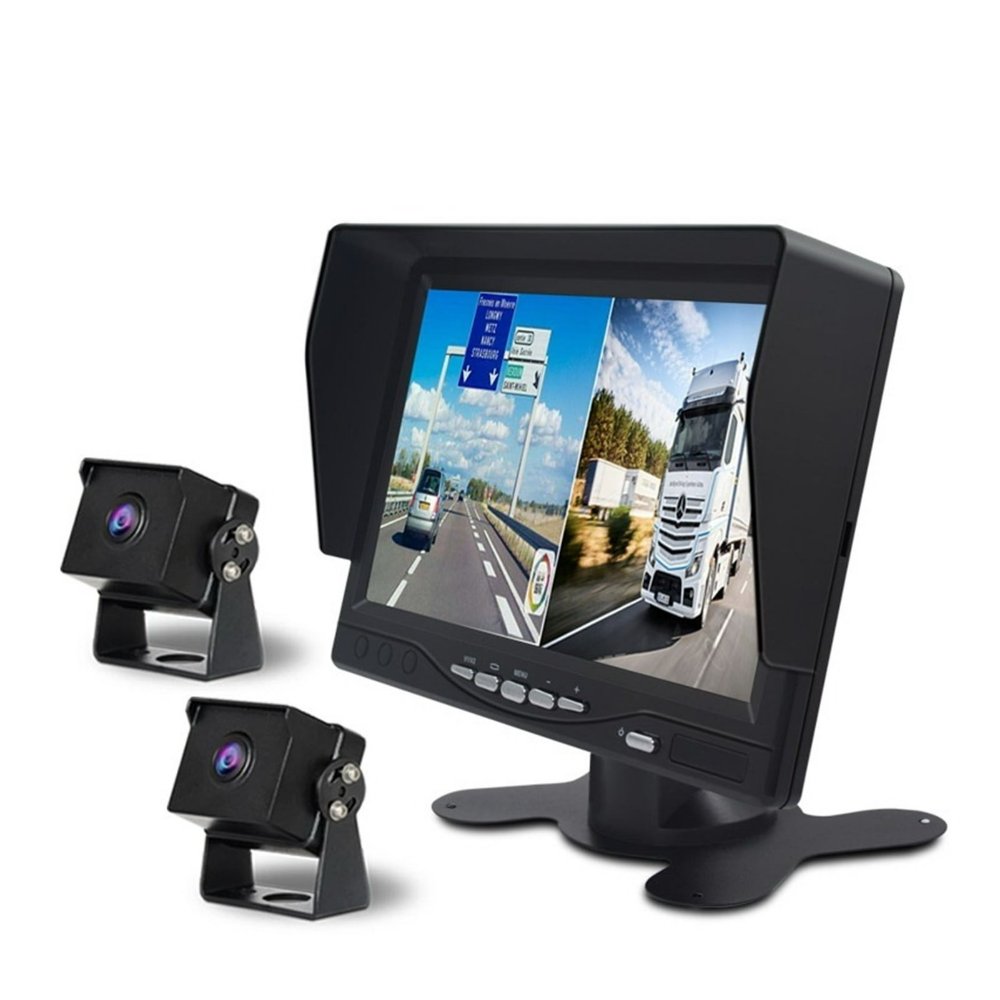
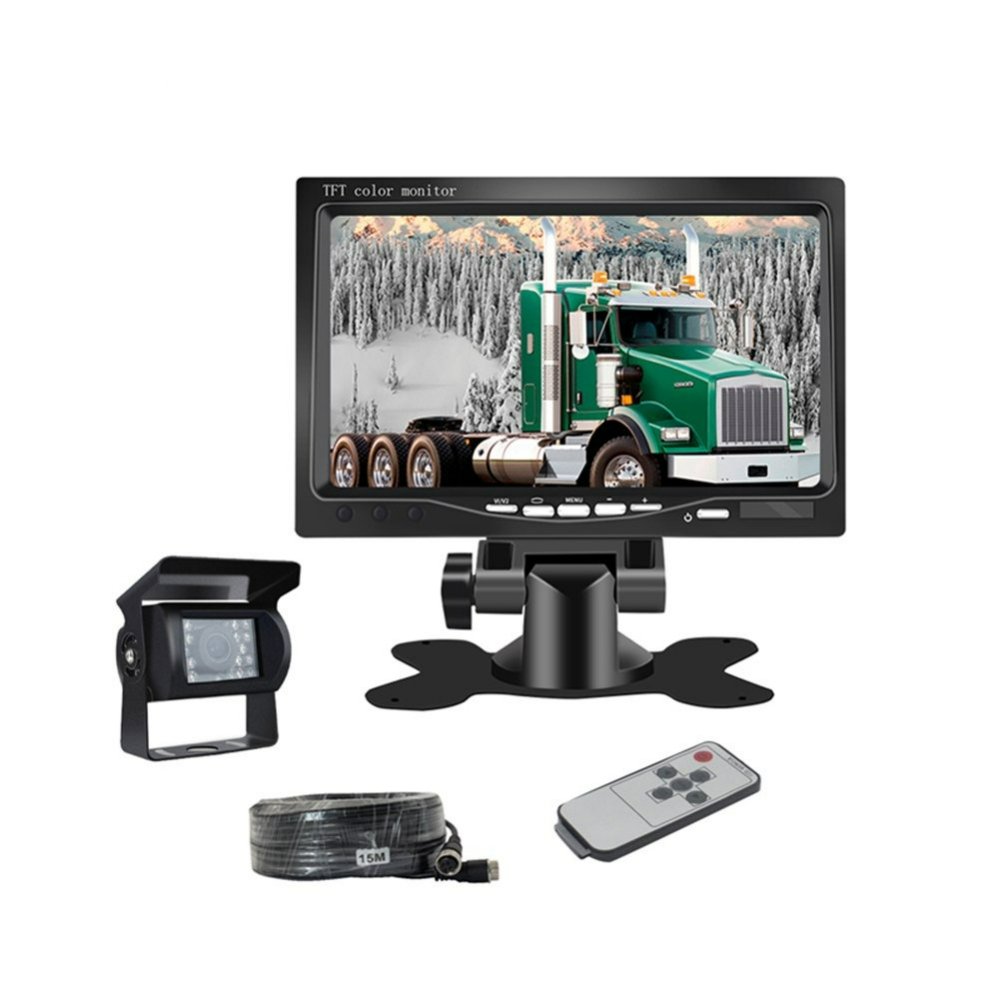
Having this camera can significantly improve safety. It makes negotiating tight spots easier. The system includes a camera, a monitor, wiring, and a power source. Some models offer advanced features like night vision and motion sensors. We’ll explore the basics of this technology. We’ll consider its benefits. And we’ll give you a comprehensive guide to installing one in your camper. Along the way, we’ll touch upon the tools needed, pre-installation tips, and maintenance advice. Remember, having a camper rear view camera can make all the difference in tricky driving situations.
Benefits of Installing a Rear View Camera in Your Camper
Installing a camper rear view camera comes with many advantages that make it a wise decision for any camper owner. Here are several key benefits:
- Enhanced Safety: The most immediate benefit is the increased safety when driving. With a rear view camera, you can easily see obstacles behind your camper, reducing the risk of accidents when reversing.
- Easier Parking: Navigating a camper into tight spots becomes much simpler with a clear view of the rear. Parking in campgrounds or any other spot is less of a challenge.
- Reduced Blind Spots: Campers generally have larger blind spots than cars. A rear view camera helps eliminate these blind zones, giving you a better view of your surroundings.
- Increased Convenience: Hooking up a trailer or aligning with a docking station often requires precision. The camera provides visual aid which makes these tasks more convenient and faster to perform.
- Avoid Vehicle Damage: By providing a clear picture of what’s behind you, a rear view camera can help you avoid hitting obstacles, thus preventing potential damage to your camper.
- Higher Resale Value: Campers equipped with modern technology such as a rear view camera can command a higher resale value. It’s an investment that can pay off in the long run.
- Peace of Mind: Knowing that you have an extra ‘eye’ while driving or parking can bring a sense of security and peace, letting you enjoy your travels more.
Whether it’s for safety, convenience, or the value it adds to your vehicle, installing a camper rear view camera is beneficial. The investment in this technology enhances not just the driving experience but also contributes to a safer journey on the road.
Tools and Materials Needed for Installation
To successfully install a camper rear view camera, you’ll need certain tools and materials. Start by gathering these essentials to make your installation process smooth and efficient. Here’s a checklist to help you prep:
- Screwdriver Set: For mounting the camera and securing connections.
- Drill with Bits: If you need to create mounting holes on the camper’s exterior.
- Wire Strippers and Crimpers: For handling the camera and monitor wiring.
- Electrical Tape and Cable Ties: To neatly bundle and insulate wires.
- Power Drill: Essential for mounting the camera securely.
- Soldering Iron (optional): For making permanent wire connections.
- Silicone Sealant: To waterproof any exterior drill holes or connections.
- Voltage Meter: For testing your connections and ensuring proper power supply.
- Fuse Tap (recommended): To connect the camera to your camper’s fuse box safely.
- Monitor Mounting Bracket: Depending on your camera kit and camper.
Ensure you have all these tools within reach before starting. Investing in a good-quality tool kit can save time and prevent frustration during installation. Remember to check your camper rear view camera kit for any additional or specific tools recommended by the manufacturer. Being prepared with the right tools and materials is the first step toward a successful installation. Keep your workspace organized and you’ll be set to move on to the pre-installation considerations.
Pre-Installation Considerations
Before starting the actual installation of the camper rear view camera, some groundwork is essential. Clear planning will help avoid common pitfalls and ensure that the camera system works seamlessly with your vehicle. Addressing these pre-installation considerations is crucial for a smooth process and optimal functionality of your rear view system.
Selecting the Right Camera for Your Camper
When choosing a camper rear view camera, consider compatibility with your camper type and preferred features. Look for cameras that offer adequate resolution for clear images. Also, think about the angle of view. A wider angle gives a broader view, which can be helpful. Durability is another key factor, as the camera will face various weather conditions. Some cameras come with extras like night vision, which is worth considering depending on your travel habits.
Deciding on the Camera Placement
The placement of the camera is vital for effectiveness. You want a spot that gives a clear, unobstructed view of the rear. Most campers install the camera above the license plate or on the camper roof. Ensure the spot you choose does not impede with any structural elements of the camper. It should be accessible for maintenance and securely affixed to the vehicle. The placement also depends on the cable length provided with the camera and the connection to the monitor inside the camper.
Step-by-Step Installation Process
Once you have selected the right camper rear view camera and decided on its placement, it’s time to install it. Here’s a detailed guide to help you through the installation process.
Mounting the Camera
Begin by mounting the camera on the chosen spot. If it’s above the license plate, secure it with the screws provided. For a roof placement, ensure it’s flat and unobstructed. Use the drill and screwdriver to fix the camera in place. Apply silicone sealant around the edges to prevent water damage.
Running the Wiring
Next, route the wiring from the camera to the monitor. Hide wires behind panels or beneath the carpet for a neat look. Use cable ties to bundle wires together. Avoid places that might pinch or heat the wires.
Connecting to the Power Source
Connect the camera’s power cable to your camper’s power system. A fuse tap can be used to connect safely into the camper’s fuse box. Use the voltage meter to check for proper power before proceeding.
Syncing the Camera with the Display Monitor
Finally, connect the camera to the monitor. Turn on both devices to test the connection. Adjust the camera and monitor settings until you get a clear view. Once everything is working well, secure the monitor with the mounting bracket.
Follow these steps carefully, one by one. Take your time to ensure each step is done right. Proper installation can prevent future problems and ensure your camera works well when you need it most.
Troubleshooting Common Installation Issues
Even with careful planning and preparation, you may encounter some common installation issues with your camper rear view camera. It’s important to know how to address these effectively to ensure your system operates correctly. Below, we discuss common problems and how to troubleshoot them.
Camera Not Powering On
If your camera isn’t powering up, first check all connections to ensure they’re secure and correct. Verify that the wiring is intact and not damaged. Use the voltage meter to confirm that power is reaching the camera.
Poor Video Quality
Subpar video output can often be a result of loose connections or incorrect setup. Tighten all connections, and adjust the camera’s angle and focus as needed. Also, ensure the monitor’s settings are optimized for the best image quality.
Intermittent Signal
A signal that cuts in and out might be due to interference or faulty wiring. Check for any items that could be causing interference and move them. Examine the wires for any signs of wear and replace if necessary.
No Display on Monitor
When there’s no display, make sure the monitor is powered and set to the correct input channel. Double-check the video cable between the monitor and camera for secure connections.
Flickering Screen
A flickering screen may indicate a loose connection or a problem with the monitor itself. Re-secure all connections and, if the issue persists, consult the camera’s manual or support team for further assistance.
By tackling these issues promptly and methodically, you can ensure that your camper rear view camera system remains reliable and functional, enhancing your driving experience and safety. Remember, taking time to resolve these issues properly will save you time and hassle in the long run.
Maintenance Tips for Your Camper Rear View Camera
Proper maintenance is key to ensuring the longevity and functionality of your camper rear view camera. Here are some practical tips to keep your camera system in top condition.
Regular Cleaning
Keep the camera lens clean for a clear view. Use a soft cloth and lens cleaner; wipe gently. Remove dirt and grime that can blur images. Check for cobwebs, leaves, or other debris and clear them away regularly.
Periodic System Checks
Run system checks often to spot issues early. Look for exposed wires or loose connections. Test camera functionality before each trip. Pay attention to changes in image quality. If problems arise, refer to your manual or seek professional help.
By following these maintenance steps, you can enjoy a reliable rear view and travel with peace of mind.
Enhancing Your Driving Experience with Additional Features
After setting up your camper rear view camera, consider extra features to boost your driving experience. Advanced features can further enhance safety and convenience. Here are two popular add-ons that could be worth the investment.
Night Vision Capability
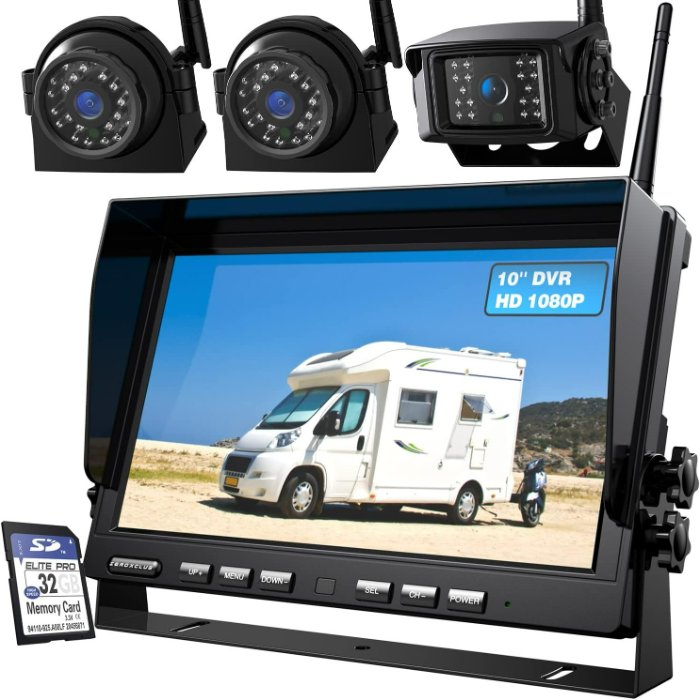
Driving at night presents unique challenges, especially for campers. A rear view camera with night vision capability can make a huge difference. It allows you to see in low light conditions. Look for cameras with built-in infrared lights. They provide a clear picture even in the dark. This feature is helpful for late arrivals at campgrounds or navigating poorly lit areas.
Motion Sensors
Another useful feature is motion sensors. These sensors can detect movement behind your camper. They alert you when something or someone is in your reversing path. It’s great for preventing collisions. The motion sensors activate the camera. This means you get a live feed on your monitor any time there’s movement. This feature provides extra security, both while driving and when parked.
Investing in these additional features can give you a better and safer driving experience. Night vision and motion sensors not only help in the dark or during motion. They also offer peace of mind, knowing that you have more control over your surroundings. Consider these options when choosing your camper rear view camera for an enhanced journey.
Final Steps and Safety Check
After installing your camper rear view camera, there are a few final steps to complete. Properly performing these checks can ensure your system is secure and functions well.
- Secure All Connections: Re-examine all the connections. Make sure they are tight and secure. Loose connections can cause issues later.
- Seal Exposed Areas: Use silicone sealant on any area where wires exit the camper. This will help weatherproof your installation.
- Check the Monitor’s Visibility: Make sure the monitor is in a place where you can easily see it. Adjust it for the best viewing angle without obstructing your view of the road.
- Test the Camera in Various Conditions: Test the camera during the day, at night, and with different levels of light. Ensure you always get a clear image for safe driving.
- Check the Camera’s Field of View: Ensure that no part of the camper is blocking the camera’s view. The whole area behind your camper should be visible.
- Look for Interference: Turn on all your electronics in the camper. Make sure there is no interference with the camera’s signal.
- Test Drive: Take a test drive to ensure everything is working correctly. Be alert for any blind spots the camera does not cover.
- Adjust as Necessary: After the test drive, adjust the position and settings if required. The camera should offer a complete view of the area behind your camper.
Always follow the manufacturer’s guidelines for safety and best practices. With these final checks, you’ll be ready to hit the road. Enjoy the added safety and confidence a rear view camera gives you while driving your camper.