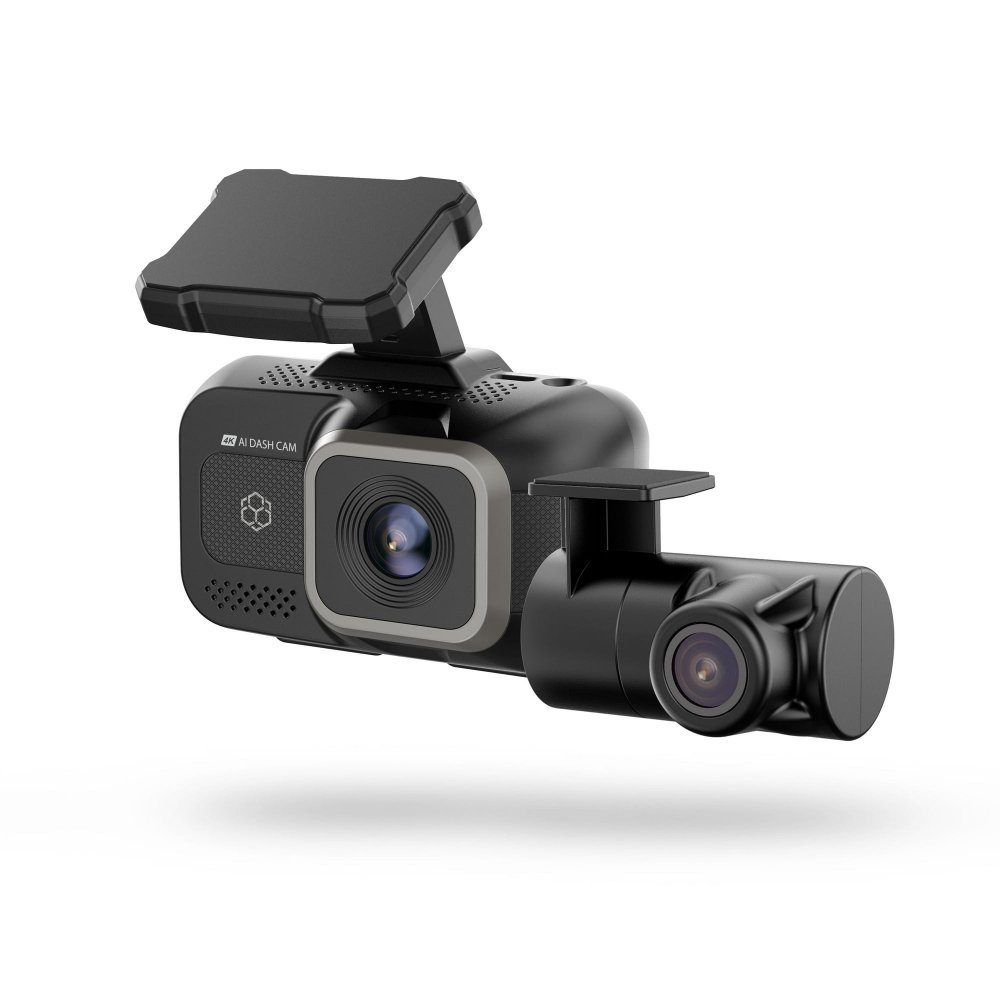
Introduction to Rear Car Cameras
Rear car cameras, or backup cameras, are a vital safety feature. They help drivers see behind their vehicles. This technology provides a clear view when reversing. Many new cars include rear car cameras as standard equipment. They can also be added to older vehicles.
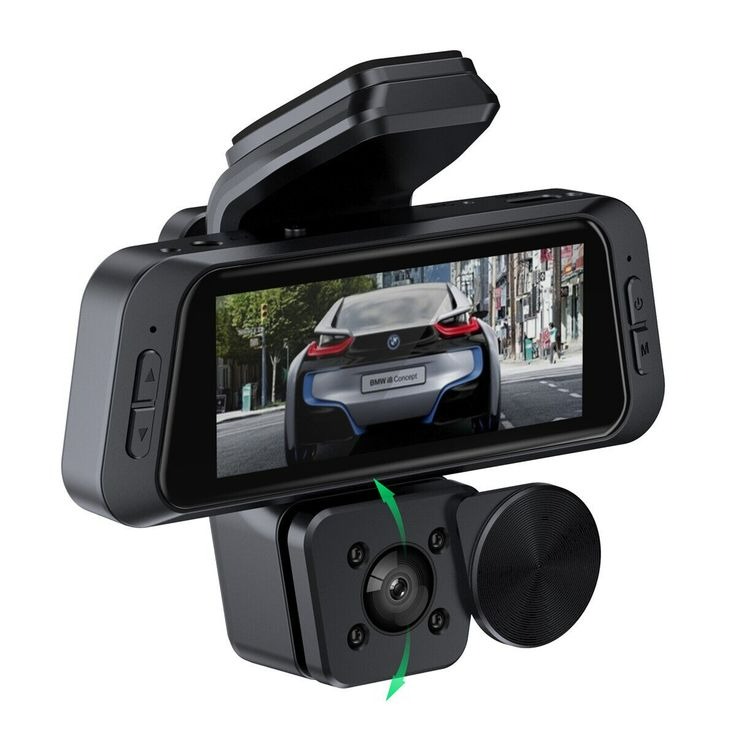
The camera usually mounts on the rear of the vehicle. It connects to a display screen on the dashboard. When the car shifts into reverse, the screen shows the camera’s view. This setup helps avoid collisions with objects or people that are out of sight.
The rear car camera’s view is often wider than a rearview mirror’s. This wide-angle lens helps drivers see more of what’s behind them. Installing a rear car camera improves safety and convenience. It’s especially useful in parking lots and tight spaces.
Some rear car cameras have additional features. These can include guidelines showing the car’s path or sensors that beep when objects are too close. Such features make driving and parking easier and safer. They also reduce the risk of accidents and damage to your vehicle.
In the following sections, we’ll explore the benefits of installing a rear car camera. We’ll also provide a detailed guide on how to install one on your vehicle. Plus, we’ll discuss how to troubleshoot issues and maintain the camera. Stay tuned for a comprehensive look at enhancing your driving experience.

Benefits of Having a Rear Car Camera
Adding a rear car camera to your vehicle has many advantages. It improves safety by giving a clearer view when reversing. This can prevent accidents with pedestrians, pets, or objects that are behind the car. It’s helpful in parking lots and in other tight spaces where it’s hard to see with mirrors alone. Here are the main benefits:
- Enhanced Safety: A rear car camera gives you a wide-angle view therefore reducing blind spots. It helps detect small children and animals that are not visible in the rearview mirror.
- Easy Parking: Many cameras come with guidelines. These lines make it easier to judge distances and park in tight spots without stress.
- Prevention of Accidents: The camera can help stop low-speed collisions with poles or other cars. This can save you from costly repairs and higher insurance premiums.
- Increased Vehicle Value: Adding a rear car camera can increase your vehicle’s resale value. It signals to potential buyers that you’ve invested in safety and convenience features.
- Convenience for Trailer Hitching: If you often tow a trailer, a camera makes lining up the hitch a breeze. You won’t need someone to guide you, saving time.
- Lower Insurance Rates: Some insurance companies offer discounts for cars with safety features like backup cameras. This can lower your insurance costs over time.
Installing a rear car camera not only protects you and others but also adds value and convenience to your driving experience. In the next sections, we’ll discuss what tools and materials you’ll need for the installation process.
Tools and Materials Needed for Installation
Before you start installing your rear car camera, gather all the necessary tools and materials. You want to ensure that you have everything on hand to avoid interruptions. Here’s a list of what you’ll typically need:
- Rear Car Camera Kit: This should include the camera itself, wiring, and possibly a display screen if your car doesn’t have one.
- Power Drill: To make holes for mounting the camera and routing the wires if required.
- Screwdrivers: Various sizes and heads to fit different screws that come with the camera kit.
- Wiring Tools: Wire strippers, crimping tools, and electrical tape to manage wiring connections safely.
- Cable Ties or Clips: These will help you secure wires and keep them out of the way.
- Fuses: To protect the camera’s electrical system and prevent a potential overload.
- Voltage Meter: To check for electrical current and ensure proper connections.
- Trim Panel Remover: If you need to remove interior panels to route wires or access the reverse light.
- Rubber Grommets: For protecting wires that pass through drilled holes from wear and tear.
- Instruction Manual: Specific to your rear car camera for reference during installation.
Having the correct tools and materials is essential for a smooth and safe installation of your rear car camera. Double-check everything before starting to ensure a successful setup.
Pre-Installation Considerations
Before you start the installation of your rear car camera, it’s crucial to consider a few key points to ensure a successful and efficient install. Take the time to go through these pre-installation considerations:
- Vehicle Compatibility: Check if your vehicle is compatible with the rear car camera kit you have chosen. Some older models may require additional adapters or wiring kits.
- Camera Placement: Decide on the best spot for your camera. It should give a clear view of the rear without obstructions. Typical placements are above the license plate or on the trunk lid.
- Wiring Route: Plan the route for the wiring from the camera to the display screen and power source. Avoid areas that could pinch or damage the wires.
- Power Connection: Determine where you will tap into the vehicle’s power system. It’s usually connected to the reverse light, so the camera activates when the car is in reverse.
- Monitor Location: If your car doesn’t have a built-in screen, choose a spot for the monitor that’s visible to the driver without obstructing the view.
- Legal Requirements: Ensure that installing a rear car camera complies with local laws. In some regions, modifications to the vehicle’s structure may be restricted.
- Backup Assistance Features: Consider if you want a camera with extra features like parking lines or motion sensors. These can add to the complexity of the install.
- Time Allocation: Give yourself enough time to complete the installation without rushing. It might take a few hours, so plan accordingly.
Taking these points into account before you begin will help you prepare for a smooth and efficient installation of your rear car camera.
Step-by-Step Installation Process
Installing a rear car camera involves several precise steps. Follow this guide to ensure a successful installation. First, here is what you need to do:
- Position the Camera: Mount the camera above the license plate or trunk lid. Make sure it has a clear view.
- Drill for Mounting: If needed, drill holes using the power drill for the camera and wiring. Use grommets to prevent wire damage.
- Run the Wires: Route the camera’s wires to the monitor and power source. Take care to avoid areas that may pinch the wires.
- Connect to Power: Tap into the reverse light’s power line. This ensures the camera turns on when the car is in reverse.
- Install the Monitor: If your car doesn’t have one, affix the screen in a visible spot for the driver that doesn’t block the view.
- Test the System: Before securing everything, test to ensure the camera and monitor work when you put the car in reverse.
- Secure the Wiring: Use cable ties or clips to fasten wires away from any moving parts or heat sources.
- Finalize Installation: Re-check all connections. Then, fix the camera and monitor in place, and replace any interior panels.
Through these steps, your rear car camera should be fully functional. Do a final check to make sure everything operates smoothly when reversing.
Troubleshooting Common Issues After Installation
Once you’ve installed your rear car camera, you may encounter a few common issues. Don’t worry! Many of these can be easily resolved with some basic troubleshooting. Let’s look at the typical problems and their solutions:
- No Image on Monitor: If the monitor displays no image, check the camera and monitor connections. Ensure the wiring is secure and properly connected.
- Poor Image Quality: If the image is blurry or unclear, clean the camera lens. If it persists, check for any damage to the lens or wiring.
- Intermittent Image: An image that cuts in and out may indicate loose wiring. Inspect the cables for secure connections and make sure they haven’t come loose.
- Image is Upside Down or Mirrored: This often means the camera is installed incorrectly. Adjust the camera orientation or check the settings if it’s a feature of your model.
- No Sound: Some rear car cameras have audio functions. If the sound isn’t working, verify the audio connection and volume settings.
- Flickering Screen: A flickering screen can be due to poor power connections or interference. Check power cables for a firm connection and proper insulation.
Keep these tips in mind as you maintain and use your rear car camera. Regular checks can preempt these issues and ensure your system functions correctly.
Maintenance Tips for Rear Car Cameras
To keep your rear car camera in good condition, regular maintenance is key. Here are some useful tips:
- Regular Cleaning: Gently wipe the camera lens with a soft cloth to remove dirt and grime. Do this often to ensure a clear view.
- Check Connections: Every few months, check all connections. Make sure wires are secure and free of corrosion.
- Test Functionality: Regularly test the camera while the car is in reverse. Ensure the image is clear and stable.
- Lens Protection: Consider using a protective cover for the lens. This can prevent scratches and weather damage.
- Wire Management: Inspect cable ties or clips to be sure they are holding wires tightly. Replace any that are loose or broken.
- Moisture Check: Look for signs of moisture or fogging in the camera lens. If present, have it checked for sealing issues.
- Firmware Updates: If your camera has software, check for updates. Manufacturers may release improvements or fixes.
- Professional Inspection: Once a year, consider a professional check-up. Experts can spot issues that may go unnoticed.
By following these maintenance tips, you ensure your rear car camera’s longevity and performance. This helps keep your driving experience safe and worry-free.
Final Thoughts and Safety Reminders
When you finish installing your rear car camera, remember these final thoughts and safety reminders:
- Double-Check Work: After installation, check your work thoroughly. Ensure everything is secure and functioning.
- Follow Local Laws: Make sure your rear car camera setup follows all local traffic laws.
- Drive Responsibly: Even with a camera, always use mirrors and check blind spots when reversing.
- Maintain Regularly: Keep up with maintenance. Clean the lens and check connections often.
- Stay Updated: Look for updates or recalls on your camera model. Keep it current.
- Trust Professional Help: If you’re unsure during any part of the installation, seek professional help.
- Educate Others: If you share the car, make sure all drivers know how to use the camera.
- Use as an Aid: Remember that the camera is an aid, not a replacement for vigilance.
By keeping these points in mind, you make sure that your rear car camera serves its purpose – enhancing safety on the road. Safe driving!