Introduction to Car Battery Connections
Car batteries are crucial for your vehicle’s operation. They start the engine, power the lights, and support the electrical system. Correctly connecting and disconnecting your car battery ensures safety and longevity of the battery. This guide will explain the essentials. It’s important to always consider the positive or negative first when connecting a battery to avoid damage or injury.
The Importance of Correct Battery Connection
Proper battery connection is crucial for car safety and functionality. It ensures that the vehicle operates smoothly without risks of electrical or mechanical issues.
Safety Concerns and Potential Damage
Connecting a car battery incorrectly can lead to serious problems. It poses a safety risk to the person doing the work. Incorrect connections can damage the car’s electrical components. This includes blown fuses and damaged electronics, which can be costly to repair. It could also lead to a short circuit, potentially causing a fire. Always prioritize safety by following the correct steps, starting from knowing whether it’s positive or negative first when connecting a battery.

Impact on Vehicle’s Electrical System
A correctly connected battery ensures stable performance of the vehicle’s electrical system. This system powers the lights, onboard computers, and other crucial components. When connected the wrong way, it can disrupt this system. This disruption can result in faulty dashboard readings, nonfunctional lights, and impaired charging of the battery. It’s essential to connect the battery properly to avoid these issues.
Step-by-Step Guide to Disconnecting a Car Battery
Locating the Battery and Terminals
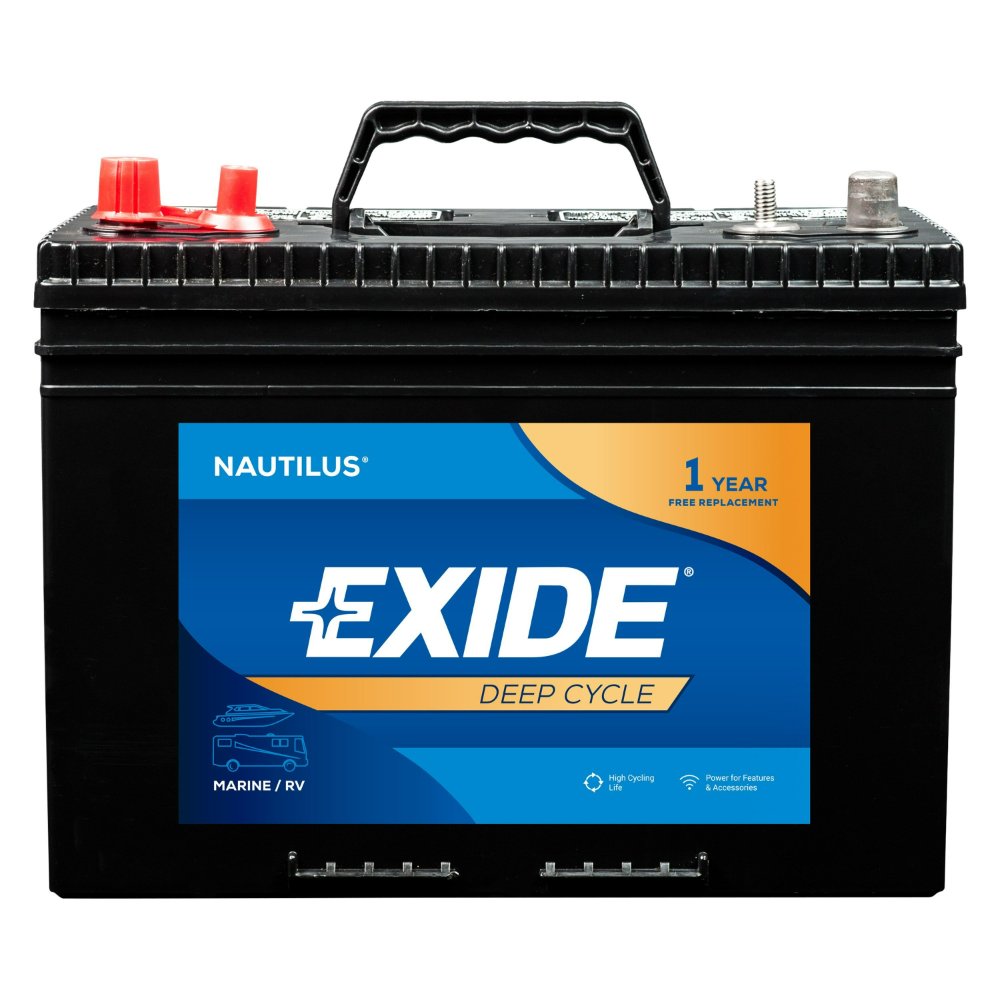
To start, turn off your car and ensure no electrical components are running. Find your car’s battery, which might be under the hood or in the trunk. Check your car’s manual if you can’t locate it. Next, identify the terminals. The positive terminal usually has a red cover and a plus sign. The negative terminal has a minus sign.
Proper Sequence of Disconnecting Cables
Safety first. Never touch both terminals at once. Begin with the negative terminal. Use a socket wrench to loosen the nut. Carefully remove the cable and keep it aside, avoiding contact with any metal. Now, move to the positive terminal. Loosen and remove the cable in the same way. Remember, always detach the negative before the positive to prevent a short circuit.
Step-by-Step Guide to Connecting a Car Battery
Connecting a car battery may seem like a straightforward task, but it is crucial to follow the correct procedure to ensure safety and prevent damage to both the vehicle and the battery itself. This guide provides a detailed, step-by-step approach to properly connecting a car battery, whether you’re replacing an old battery or reconnecting after maintenance.

Step 1: Gather Necessary Tools and Equipment
Before you begin, make sure you have the following tools and equipment:
Safety Gear: It’s advisable to wear safety goggles and gloves to protect your eyes and hands from potential battery acid or sparks.
Battery Terminal Cleaner: If the battery terminals are corroded, a terminal cleaner or a wire brush will be helpful.
Wrench or Socket Set: Depending on your battery terminals, you may need a wrench to loosen and tighten the terminal connections.
New Battery (if applicable): If you are replacing an old battery, ensure you have the correct size and type for your vehicle.
Step 2: Ensure Safety Precautions
Before proceeding, make sure the vehicle is turned off, the keys are out of the ignition, and you’re in a well-ventilated area. If you’re working on a vehicle with an automatic start feature, ensure that it’s completely powered down.
Step 3: Assess Battery Condition
If you’re connecting a new battery, inspect it for any physical damage, such as cracks or leaks. A damaged battery may pose a safety risk. Also, check the expiration date on the new battery to ensure it’s still within a usable range. If you’re reconnecting the old battery, examine the terminals for corrosion. Excessive corrosion can interfere with the electrical connection.
Step 4: Clean the Battery Terminals
If needed, use a battery terminal cleaner or wire brush to remove any corrosion or debris from the battery terminals and cable connectors. This ensures a clean connection, allowing for optimal electrical conductivity. If you notice any significant corrosion, you may also need to mix baking soda with water to neutralize any acid before scrubbing it off.
Step 5: Position the Battery
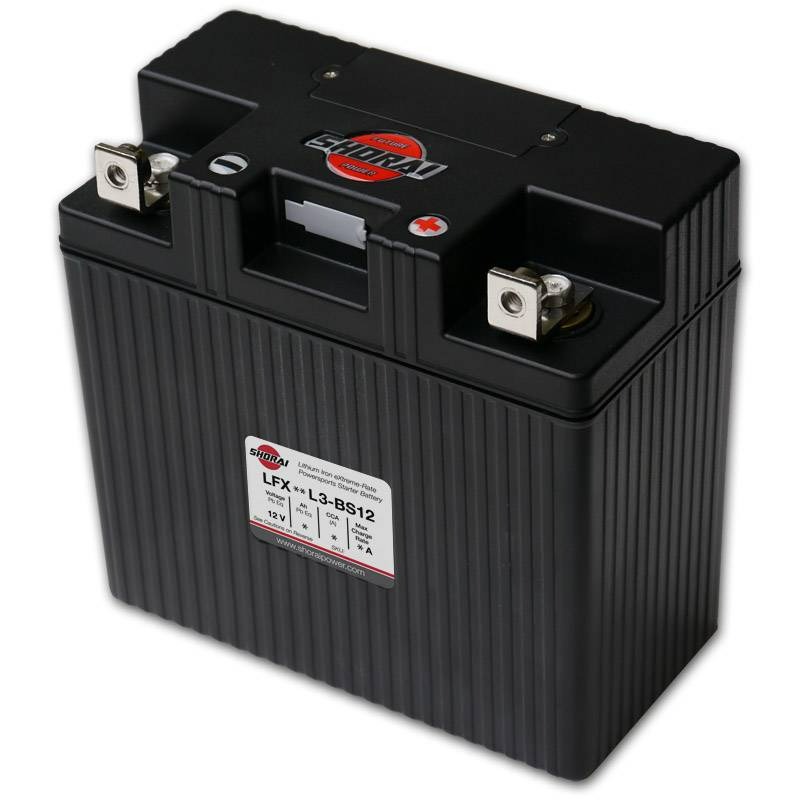
Carefully position the battery in its designated compartment. Ensure it is oriented correctly, as most batteries have specific placement for the positive (+) and negative (-) terminals. Some batteries have a design where the terminals are angled outward; refer to the label on the battery for proper orientation.

Step 6: Connect the Positive Terminal First
Identify the Positive Terminal: Typically marked with a ‘+’ symbol and often has a red cable attached.
Connect the Positive Cable: Place the positive cable’s connector over the positive terminal and tighten it with a wrench until it is secure. Be careful not to overtighten, as this can damage the terminal.
Step 7: Connect the Negative Terminal
Identify the Negative Terminal: Marked with a ‘-‘ symbol and generally has a black cable.
Connect the Negative Cable: Attach the negative cable to the negative terminal and tighten securely, as you did with the positive terminal.
Step 8: Inspect Your Work
After both terminals are connected, double-check that the connections are secure and that there is no corrosion present. Ensure that there are no loose wires or tools around the battery area that could cause issues when starting the vehicle. Also, ensure that the battery is secured in its compartment to prevent movement while driving.
Step 9: Start the Vehicle
Once you have connected both terminals securely, it’s time to start your vehicle. Turn the ignition key or press the start button. If the vehicle starts smoothly, your connections are likely correct. If it doesn’t start or if you hear clicking sounds, recheck the connections and ensure they are tight and correctly attached.
Step 10: Dispose of Old Battery Properly
If you replaced an old battery, take the necessary steps to dispose of it properly. Car batteries contain hazardous materials, so it’s important to recycle them at a designated recycling center or take them to an auto parts store that offers battery recycling.
Connecting a car battery is a task that can easily be performed with the right tools and precautions. By following this detailed step-by-step guide, you can safely connect a car battery, ensuring optimal performance and longevity of both your battery and vehicle. Always remember to prioritize safety, and when in doubt, consult a professional mechanic for assistance.
Connecting Jumper Cables Correctly
To connect jumper cables properly, follow these steps:
- Park the Working Car Close: But don’t let the cars touch.
- Turn Off Both Cars: Ensure all electronics are off too.
- Attach Positive Clamp First: Connect it to the dead battery’s positive terminal, indicated by the plus sign or red cover.
- Connect Positive Clamp to Working Battery: Same as above, but on the good battery.
- Attach Negative Clamp to Working Battery: It goes on the negative terminal, marked by a minus sign.
- Ground the Last Clamp: Attach it to an unpainted metal surface on the car with the dead battery, away from the battery itself.
By connecting cables in this order, you avoid sparks or shorts.
Safety Tips for Jumpstarting
Stay safe while jumpstarting by following these tips:
- Use Quality Cables: Don’t use cables with exposed wiring or damage.
- Avoid Touching Terminals Together: This can cause sparks or shorts.
- Wait Before Starting Cars: Give it a moment after connecting cables.
- Start the Working Car First: Let it run to charge its battery for a few minutes.
- Try Starting the Dead Car: If it doesn’t start, wait a bit longer.
- Remove Cables in Reverse Order: Start with the last clamp you connected.
Always put safety first to prevent harm to yourself or the vehicles involved.
Troubleshooting Common Battery Connection Issues
When you’ve connected your car battery, but still encounter issues, troubleshooting is key.
How to Clean Battery Terminals
Dirty terminals can cause poor connections. Here’s how to clean them:
- Turn Off Your Car: Ensure all systems are off.
- Remove Cables: Disconnect the negative cable first, then the positive.
- Clean with Baking Soda: Mix with water.
- Scrub Terminals: Use a wire brush.
- Rinse and Dry: Use clean water, then wipe off.
- Reconnect Cables: Positive first, then negative.
What to Do If the Battery Won? Start After Connection
If your battery doesn’t start:
- Check Connections: They should be tight and clean.
- Inspect Battery: It may be too old or damaged.
- Try Jumpstarting: Follow safe jumpstart guidelines.
- Seek Professional Help: Sometimes, it’s best to call a pro.
By following these steps, you can solve many common issues related to car battery connections.
Conclusion and Final Safety Reminders
Wrapping up, the right approach to connecting a car battery is clear. Always connect the positive cable first, followed by the negative. This order matters most to prevent damage or sparks.
When disconnecting, reverse the process. Remove the negative cable first, then the positive. This ensures safety and protects the vehicle’s electrical system.
Remember these final safety tips:
- Wear Protective Gear: Gloves and goggles can shield you from harm.
- Use Proper Tools: A wrench or socket set helps avoid damaging the terminals.
- Keep the Area Clear: Ensure no metal objects touch the terminals while working.
- Consult the Manual: Your vehicle’s guide has specific instructions.
- Secure Connections: Double-check that all cables are tight and secure.
- Get Professional Help: If unsure, contact an expert to handle the battery.
By following this guide and the outlined steps, you’ll be adept at managing car battery connections. Keep the manual handy, and don’t hesitate to ask for professional help when needed. Stay safe and drive confidently, knowing your vehicle’s heart is well-connected.
