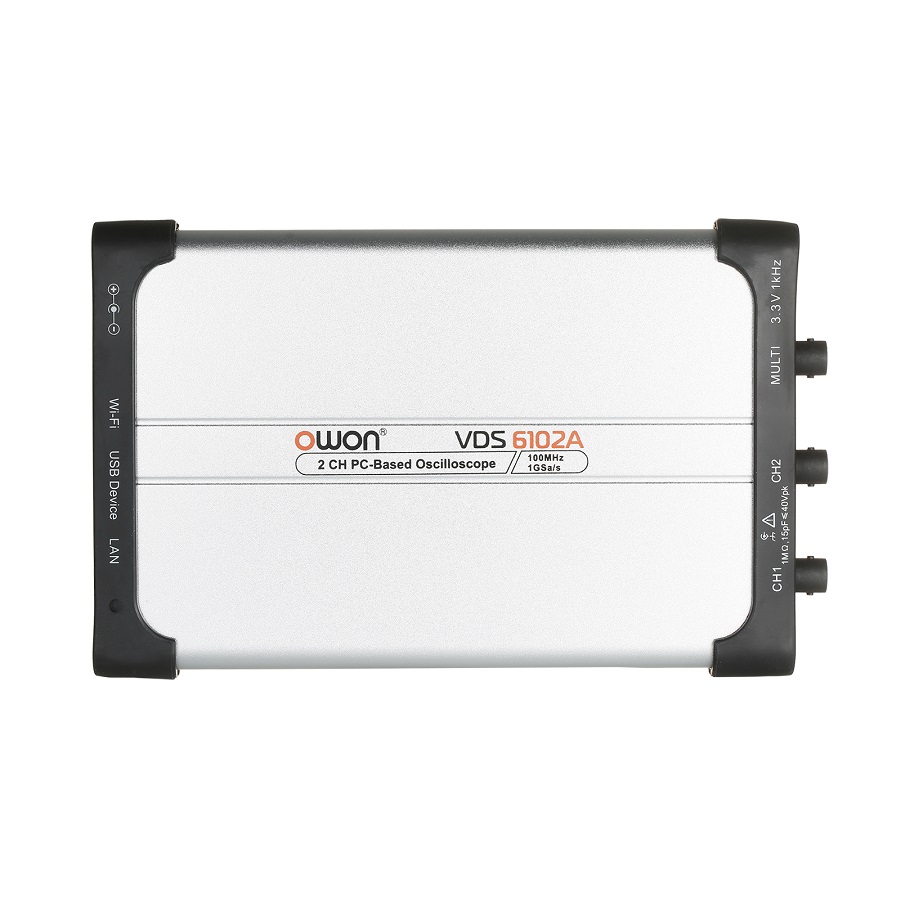
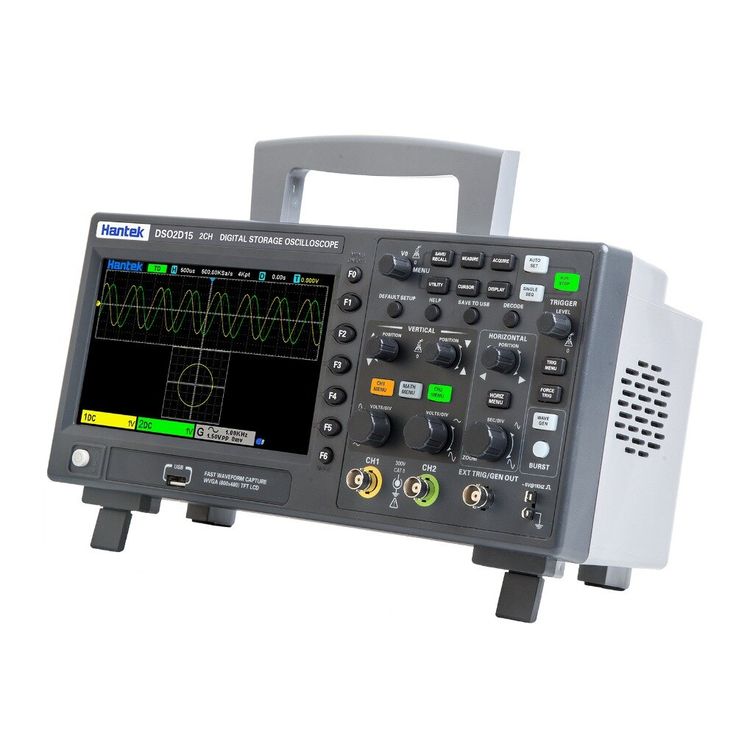
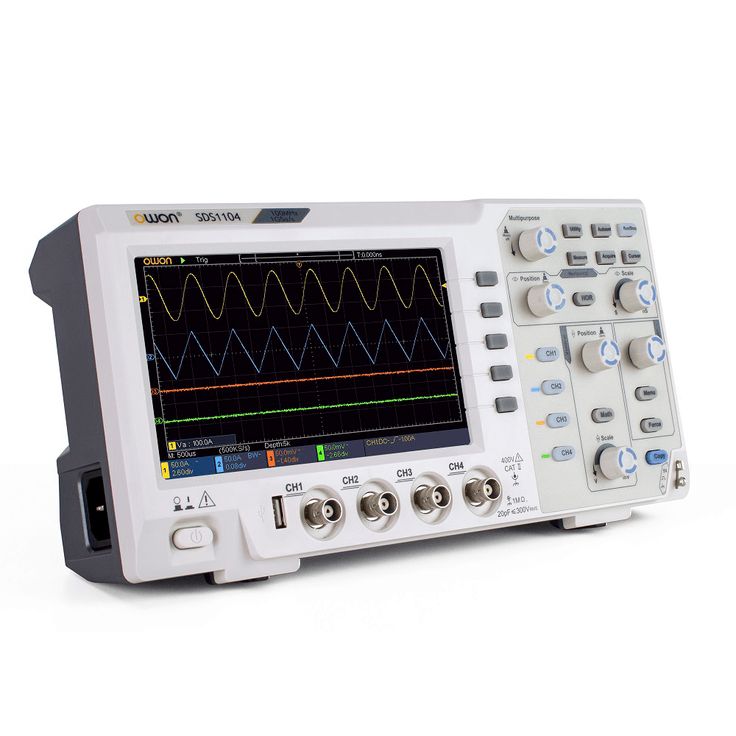
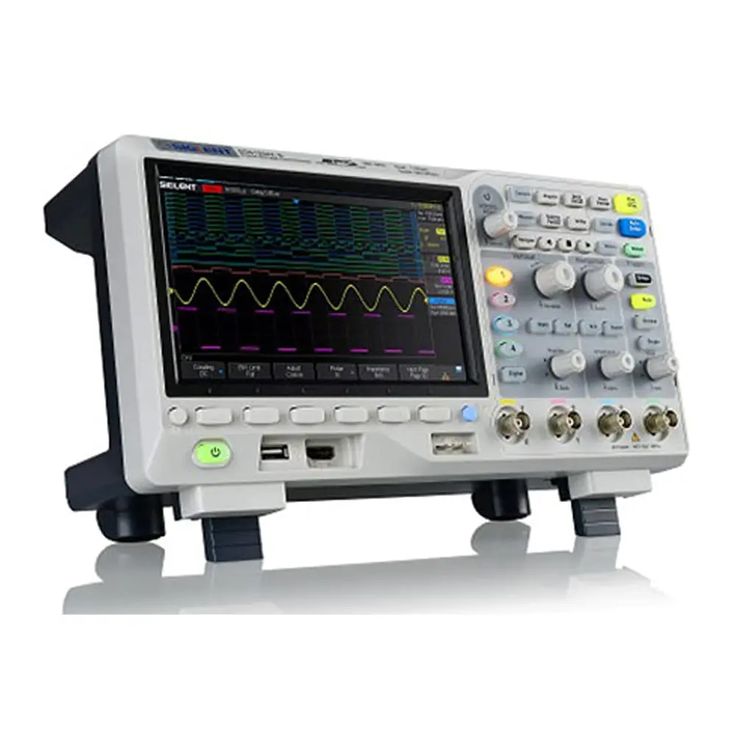
An oscilloscope is a crucial instrument in the toolkit of engineers, technicians, and hobbyists who work with electronics. Its primary function is to visualize electronic signals over time, providing invaluable insights into the functioning of circuits and systems. Whether you’re troubleshooting, performing research, or simply exploring new technologies, mastering the oscilloscope is imperative. In this comprehensive guide, we’ll walk you through the steps of using an oscilloscope, offering essential tips and insights for beginners.

Understanding the Anatomy of an Oscilloscope
Before diving into operational procedures, it’s vital to familiarize yourself with the key components of an oscilloscope. Understanding these parts will help you navigate its functions effectively.
-
Display Screen
The display screen is a visual interface where all the measured signals are presented. It could be a traditional cathode-ray tube (CRT) screen or a modern LCD. The screen shows a grid that represents voltage vertically and time horizontally, allowing you to visualize waveforms accurately.
-
Input Channels
Most oscilloscopes have multiple input channels, usually ranging from two to four. Each channel is designed to measure different signals simultaneously. For instance, you can analyze a square wave from one source and a sine wave from another to compare their characteristics.
-
Control Buttons and Knobs
Control buttons and knobs are dedicated for various functions, including:
Vertical Control: Adjusts the signal’s vertical position and scale.
Horizontal Control: Modifies the time base for signal representation.
Trigger Level Control: Stabilizes the waveform display on the screen.
Familiarizing yourself with these controls is essential for efficiently using the oscilloscope.
-
Probes
Probes are crucial for connecting the oscilloscope to the circuit you want to measure. They can vary in specifications, including voltage rating and bandwidth, which impact measurement accuracy and safety. Understanding how to select and use probes correctly is critical, as they influence the fidelity of your measurements.
-
Power Supply and Ground
Many oscilloscopes require an external power supply, while some models are portable and battery-operated. Moreover, knowing how to establish a ground reference is vital for accurate measurements and avoiding short circuits.

Step 1: Setting Up Your Oscilloscope
Proper setup is the foundation for successful measurements. Follow these steps to get started with your oscilloscope:
-
Connect the Power Supply
Ensure your oscilloscope is connected to a power source or charged if it’s a portable model. Power it on, and allow it to perform a self-check routine, if applicable.
-
Select and Connect Probes
Choose the right probes based on the expected voltage range and type of signal you want to measure. Connect the probe to the input channel of the oscilloscope, and ensure that the probe’s ground clip is securely attached to the circuit’s ground, establishing a reference point for your measurements.
-
Configure Settings for Probes
Many oscilloscopes allow you to configure probe settings directly on the canvas. Set the attenuation factor correctly, which might be 1x or 10x, depending on your probe type. This step ensures accurate voltage scaling on the display.
-
Check the Oscilloscope’s Functionality
Before proceeding, ensure that the oscilloscope is functioning correctly. Check if the display responds to the input, and confirm that the probes are connected securely. If there are issues, consult the user manual for troubleshooting tips.
Step 2: Configuring the Oscilloscope Settings
Once your oscilloscope is set up, it’s essential to configure the settings according to the signal you intend to measure. Here’s how to do it:
-
Select the Right Input Channel
If you’re using multiple input channels, select the channel corresponding to the probe you’re using. Oscilloscopes allow you to operate and view multiple channels simultaneously by selecting the relevant button for the desired channel.
-
Adjust Vertical Scaling and Positioning
Using the vertical control knobs, adjust the scale setting to optimize the waveform display. The objective is to ensure the waveform fits nicely within the vertical grid without being too compressed or too spread out.
You may also need to adjust the vertical position of the waveform so that it appears centered on the screen, making it easier to analyze. This step is particularly important when comparing multiple waveforms or when performing measurements.
-
Set the Time Base
Adjust the horizontal time base setting using the horizontal control knobs. The time base determines how much time each division on the horizontal axis represents. If you’re working with a fast signal, a shorter time base will allow you to visualize rapid changes more effectively. Conversely, for slower signals, a longer time base will fit the entire waveform within the display.
-
Configure Trigger Settings
The trigger system is essential for stabilizing waveform displays. Set the trigger type according to the type of waveform you’re analyzing. Common trigger types are edge triggering, pulse width triggering, and video triggering. Adjust the trigger level to ensure that the oscilloscope captures and consistently displays the waveform of interest.

Step 3: Connecting to Your Circuit and Taking Measurements
Once you have configured the oscilloscope, it’s time to connect it to the circuit and start taking measurements. Here’s a step-by-step process for this stage:
-
Connect to the Circuit Board
Carefully connect the probe to the test point in your circuit. This could be a pin of an IC, a resistor lead, or any point where you want to measure voltage. Ensure that your connections do not short-circuit any components in the process.
-
Observe the Waveform on the Screen
After connecting the probe, you should see the waveform on the oscilloscope screen. If the waveform doesn’t appear, check your probe connections and settings, making sure the oscilloscope is in the correct channel mode to view the signal.
-
Making Measurements
With the waveform visible, you can proceed to analyze it. Here are some essential measurements you might carry out:
Voltage Measurement: Use the vertical scale to determine the peak voltage, RMS voltage, and any fluctuations in amplitude present in the signal.
Time Period Measurement: Measure the time period of the signal by counting the number of divisions it spans horizontally and multiplying this by the time base setting.
-
Storing and Analyzing Data
Many digital oscilloscopes come with memory storage capabilities. If your device supports it, you can capture waveforms for later analysis. Store the waveform data and explore its features, such as using built-in filters or analysis modes to extract meaningful parameters from the data.

Step 4: Advanced Features and Functions
As you become more comfortable using an oscilloscope, exploring additional features will enhance your analytical capabilities. Here’s what you can consider:
-
Triggering Options
As previously mentioned, various triggering options exist. Advanced settings allow engineers to capture complex signals effectively. Exploring different trigger modes permits the capture of more detailed waveforms and events, especially in fast-changing signals.
-
Measurement Functions
Most modern oscilloscopes provide automatic measurements. These functions can calculate voltage peaks, frequency, rise time, and other essential parameters automatically. Familiarize yourself with these features to save time and reduce potential human error during measurements.
-
Waveform Mathematics
Waveform math functions allow for the calculation of the difference between signals, multiplication, or even Fourier transformations. By subtracting two waveforms, you can analyze the variation and investigate circuit behaviors, making this feature beneficial for sophisticated analysis.
-
Exporting Data
If you plan to document your findings or perform advanced analyses, check if your oscilloscope can export waveform data. Whether through USB, Ethernet, or another connection type, saving data in formats compatible with software analysis tools can be invaluable for documentation and reporting.

Step 5: Properly Ending Your Measurement Session
After completing your measurements, it is essential to conclude your session carefully:
-
Disconnect Probes Safely
Carefully detach the probes from your circuit, ensuring there are no shorts created during disconnection. Store the probes neatly to avoid damage.
-
Shut Down the Oscilloscope
Most models have a power button that allows you to turn the device off safely. Always turn the device off after you’re finished measuring to conserve energy and enhance the longevity of the oscilloscope.
-
Review Measurement Results
Post-measurement, take a moment to review the results. Are there any anomalies or unexpected waveforms? Document these findings in a lab notebook or report for future reference.
-
Calibrate Regularly
Calibrating your oscilloscope and probes periodically is essential for maintaining measurement accuracy. Depending on your model, refer to the user manual for specific steps to carry out the calibration process.
Conclusion: Becoming Proficient with Your Oscilloscope
Understanding how to use an oscilloscope is an essential skill for anyone involved in electrical engineering, electronics, or even hobbyist projects. This step-by-step tutorial provides foundational knowledge about an oscilloscope’s functions, setup, operation, and measurement.
Familiarity with the components and controls of your oscilloscope, combined with practical experience, will significantly enhance your analytical abilities. Whether you are troubleshooting circuits, measuring signal parameters, or conducting experiments, mastering the oscilloscope opens the door to in-depth investigation and comprehension of electronic systems.
As you continue to practice and explore broader functionalities, the skills you acquire will undoubtedly elevate your confidence and capability in working with electronic devices. Embrace the challenge of learning this invaluable tool, and you will find your expertise in electronics growing like the waveforms on your oscilloscope display.