Roku devices give you the power to stream your favorite shows and movies. But did you know that you can use your Roku remote to control your TV too? This feature can simplify your viewing experience by allowing you to manage multiple devices with one remote. In this article, we’ll explore how to make your Roku remote control your TV, and we’ll cover everything you need to know, step by step.
Understanding Roku Remote Features
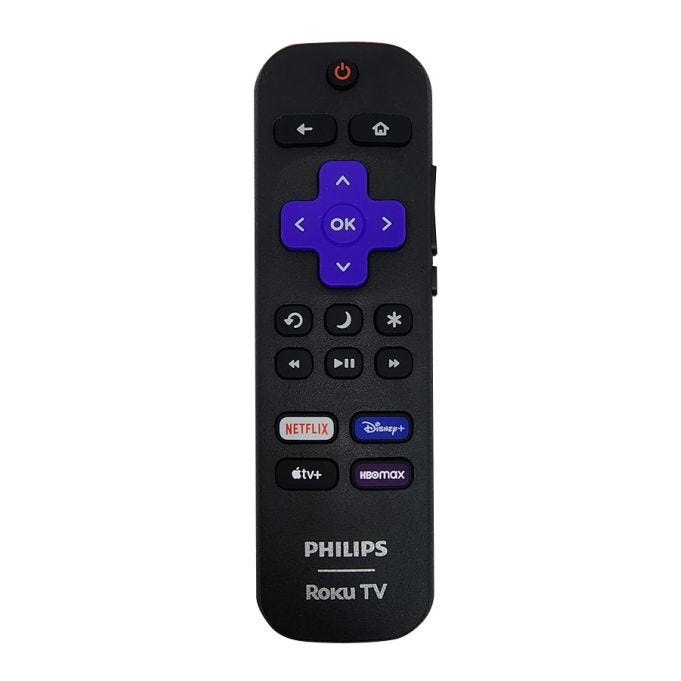
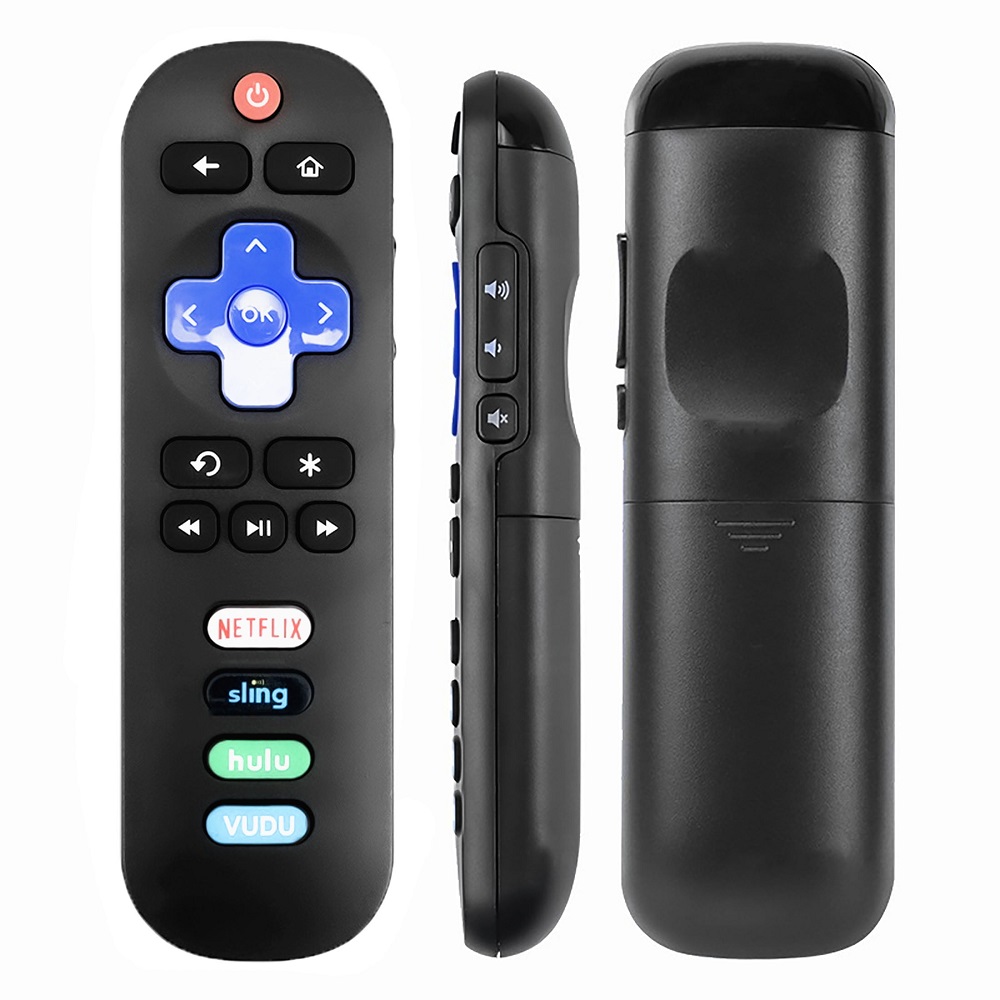
Before we get into the setup, let’s understand what the Roku remote can do. Most Roku remotes have several buttons, including those for Home, Back, and Instant Replay. Some remotes come with voice control and headphone jacks, while others have shortcut buttons for popular streaming services.
One of the main features is HDMI-CEC, which stands for HDMI Consumer Electronics Control. This allows devices connected through HDMI to communicate. If your TV supports HDMI-CEC, your Roku remote can control the TV’s power and volume.
Types of Roku Remotes
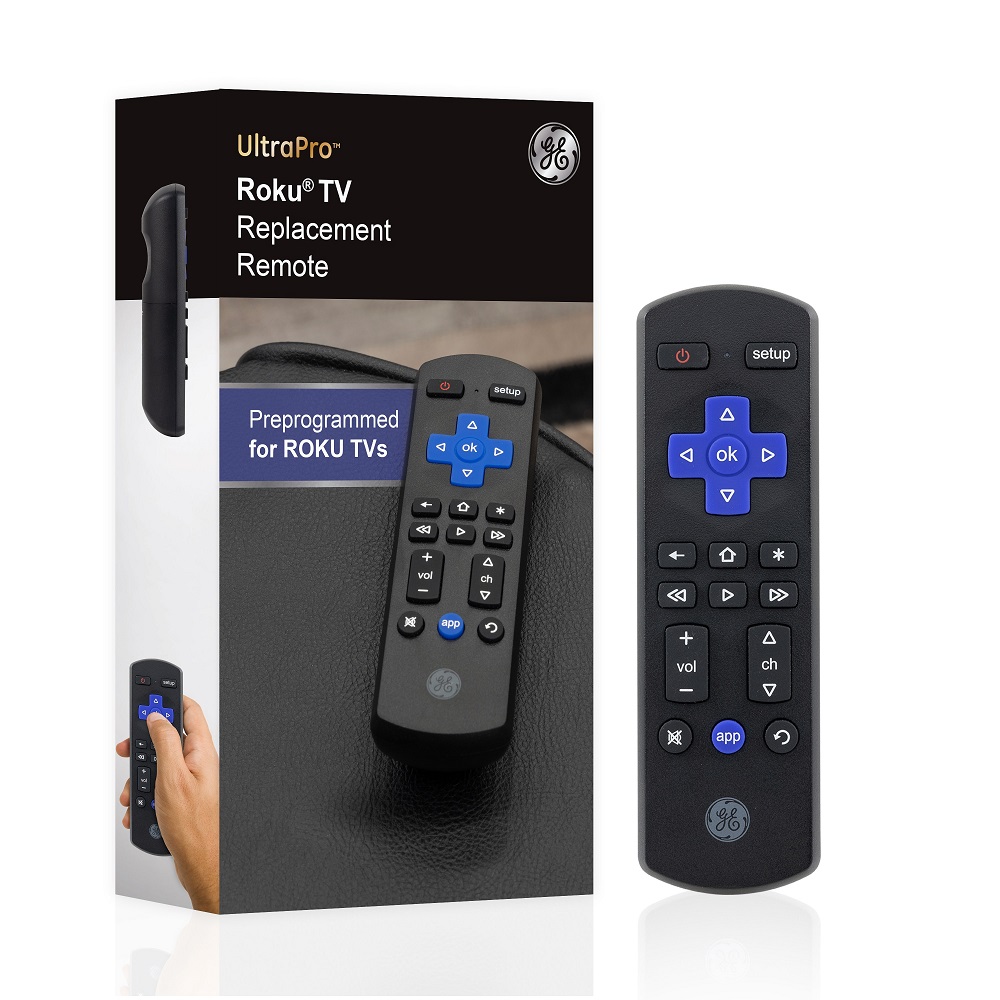
There are two main types of Roku remotes: standard and voice remotes. Standard remotes have basic buttons to navigate. Voice remotes, on the other hand, allow you to search for content using your voice. Both remotes can potentially be set up to control your TV, provided your TV has HDMI-CEC.
Preparing Your Roku Remote
Before you can control your TV with your Roku remote, you need to prepare it. Start by ensuring you have a compatible Roku device and a TV that supports HDMI-CEC.
To check if your TV has HDMI-CEC, look in the settings menu. Each TV brand may call it something different. For example, Samsung names it Anynet+, while LG calls it SimpLink.
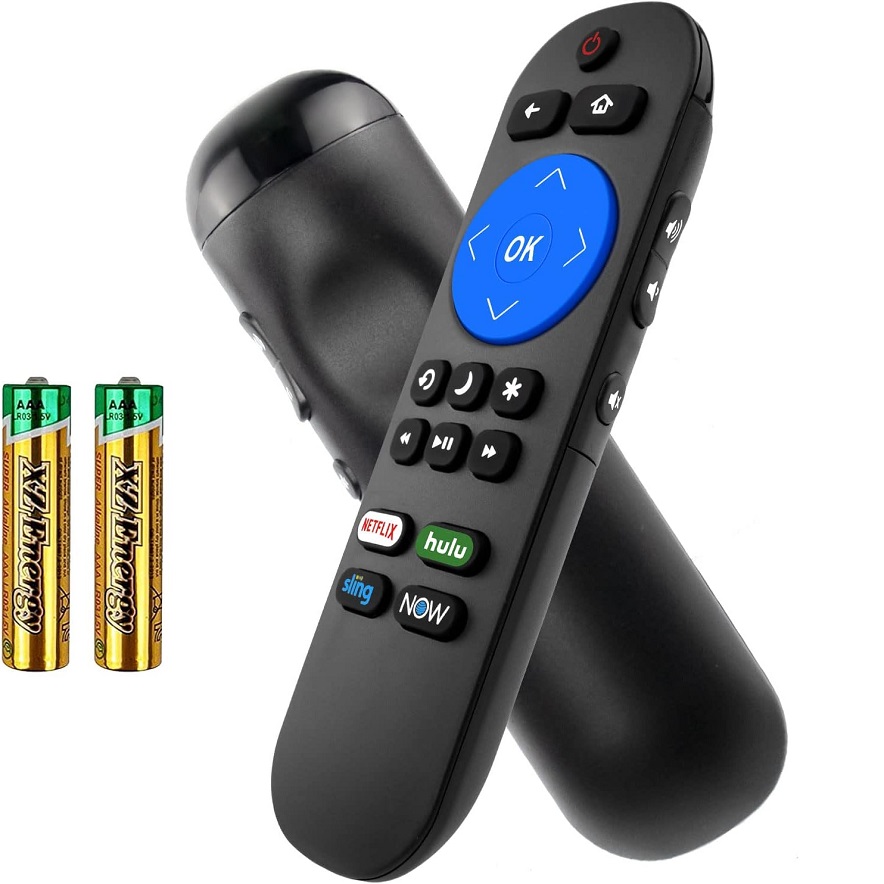
Next, make sure your remote has fresh batteries. Old batteries can cause connectivity issues. Open the battery compartment on the back of the remote and replace the batteries if needed.
After checking these basics, you are ready to proceed with the setup process.
Checking Your TV Settings
Now, let’s dive into your TV settings. Turn on your TV and grab the remote control for your TV. Navigate to the settings menu. Look for something like “System,” “Network,” or “Devices.” Each brand organizes things differently, so be patient.
Once in the settings menu, locate the HDMI-CEC option. Make sure it is enabled. If it’s off, turn it on. This step is crucial for allowing your Roku remote to control the TV functions.
Remember to save any changes you make in the settings. Your TV will usually prompt you for confirmation. After enabling HDMI-CEC, you can move back to your Roku remote setup.
Connecting the Roku Device to Your TV
With your Roku remote prepared and your TV settings checked, the next step is connecting your Roku device to your TV. Start by plugging in your Roku device if you haven’t already. Use the HDMI cable to connect the Roku device to one of the HDMI ports on your TV.
After plugging in, turn on your TV. Select the HDMI input that corresponds to your Roku device. This is often done by pressing the “Input” or “Source” button on the TV remote.
Once you see the Roku logo, it means your Roku device is ready. If you’re new to Roku, follow the on-screen prompts to set up your account. Once your Roku is fully set up, you can proceed to the next step.
Syncing the Roku Remote
Now comes the fun part—syncing your Roku remote to your TV. After setting up the Roku device, your remote should be paired automatically. If it isn’t, you can manually pair the remote.
To pair the remote, remove the battery cover and press the pairing button. This button is usually located in the battery compartment. Hold it for a few seconds until you see the green light flash. Your Roku device should display a message confirming that the remote is successfully paired.
If issues arise during pairing, check the battery placement. Make sure the plus and minus signs align correctly. After confirming this, repeat the pairing process.
Configuring TV Power and Volume Control
At this point, your Roku remote is paired with your Roku device. Now, let’s configure the TV power and volume control settings. Go to the Roku home screen by pressing the Home button on your remote.
Navigate to the Settings option. Under Settings, select “Control Other Devices.” You’ll see an option for “Cec.” Enable this option to allow your Roku remote to control the TV functions.
Testing the Remote
Once you’ve configured the settings, it’s time to test whether the Roku remote can control your TV. Start by trying to turn off the TV using the Roku remote. Press and hold the power button. If your TV turns off, congratulations! Your remote can now control your TV.
Next, test the volume buttons. Increase and decrease the volume using the corresponding buttons on the Roku remote. If the volume responds, your setup is complete. If not, double-check your settings, ensuring that HDMI-CEC is enabled on your TV.
Troubleshooting Common Issues
Sometimes, despite following all steps, you may experience issues. If your Roku remote isn’t controlling the TV, don’t panic. Several common issues can be easily fixed.
First, check HDMI-CEC settings on both the Roku and the TV. Sometimes, settings may reset unexpectedly. Ensure both the Roku device and your TV have HDMI-CEC enabled.
Next, verify batteries. Fresh batteries prevent remote connectivity issues. If you’ve changed the batteries but still face problems, try resetting the remote by removing the batteries and pressing any button for 10 seconds.
Lastly, consider rebooting both your Roku device and your TV. Unplug both devices for about one minute. Plug them back in and try the setup again.
Advanced Troubleshooting Tips
If you continue to encounter problems, try these advanced tips. First, consult the user manuals for both your Roku device and your TV. They often contain troubleshooting sections for HDMI-CEC issues.
Second, check for firmware updates. Sometimes device compatibility can resolve issues. To update your Roku device, go to Settings > System > System Update.
Lastly, when in doubt, consider looking for help online. Roku has a robust support community where many users share their solutions.
Enjoying Your Streaming Experience
By successfully setting up your Roku remote to control your TV, you’ll enhance your overall streaming experience. Now you can easily navigate through different apps, adjust volume, and turn your TV on and off—all using one remote.
You’ll find this convenience invaluable during binge-watching sessions or movie nights. You no longer have to juggle multiple remotes.
With everything under control, sit back, relax, and enjoy your favorite shows. Whether it’s a comedy, drama, or documentary, you’re now equipped to savor every moment hassle-free.
Maximizing Your Roku Remote’s Functions
Now that you have your Roku remote controlling your TV, take time to explore further. Many remotes come with features like shortcuts to specific apps. Use these to jump straight to your favorite streaming service.
You’ll also find screen mirroring features. If you own a smartphone, consider mirroring your screen to your TV. This is useful for sharing photos or videos with friends or family during gatherings.
Take advantage of the voice search functionality if your remote has it. It can help you quickly find shows or movies without wasting time scrolling.
Conclusion
Making your Roku remote control your TV enhances your viewing experience. With a few simple steps, you’ll streamline your setup. No more fuss with multiple remotes.
Once everything is configured and working, you’re ready to enjoy endless entertainment. Follow the instructions carefully, and you’ll easily control your TV and Roku device using a single remote. Happy streaming!